









A pollinator garden can help bees, butterflies, moths, and other helpful insects in a zoned residential neighborhood. Have you noticed a sunny part of your yard that is mostly grass but gives little food or shelter to wildlife? It does not have to stay this way. With a clear plan, neat edges, and a quick review of local rules, you can build a useful garden that also looks cared for from the street.
- Check setback, plant height, sight line, drainage, and nuisance rules before choosing a garden bed.
- Keep a clear edge, path, or short plant border around native flowers to show the area is cared for.
- Save photos, plant labels, and zoning notes so you can explain your garden if a neighbor or local officer asks.
Table of Contents
- Set Your Pollinator Garden Limits Before Digging
- Which Local Rules Matter for a Residential Pollinator Garden?
- Choose Plants and Layouts That Look Planned
- Build the Bed Step by Step Without Creating Yard Problems
- Keep the Garden Neat for Neighbors and Inspectors
- How Do You Fix Common Pollinator Garden Problems?
- Check Your Garden Through Each Season
Set Your Pollinator Garden Limits Before Digging
Start by marking the garden area, checking property lines, and reading the rules that apply to your lot. A good first step is choosing a bed that stays clear of sidewalks, street corners, drains, and shared fences.
Do not buy plants first. Walk outside with a tape measure, a notebook, and your phone. Measure the width and depth of the space. Note how many hours of sun it gets during a normal day. Most flowering native plants need at least six hours of direct sun, though some can grow in part shade. Also look for wet spots after rain, because water that sits for more than a day may need different plants or better drainage.
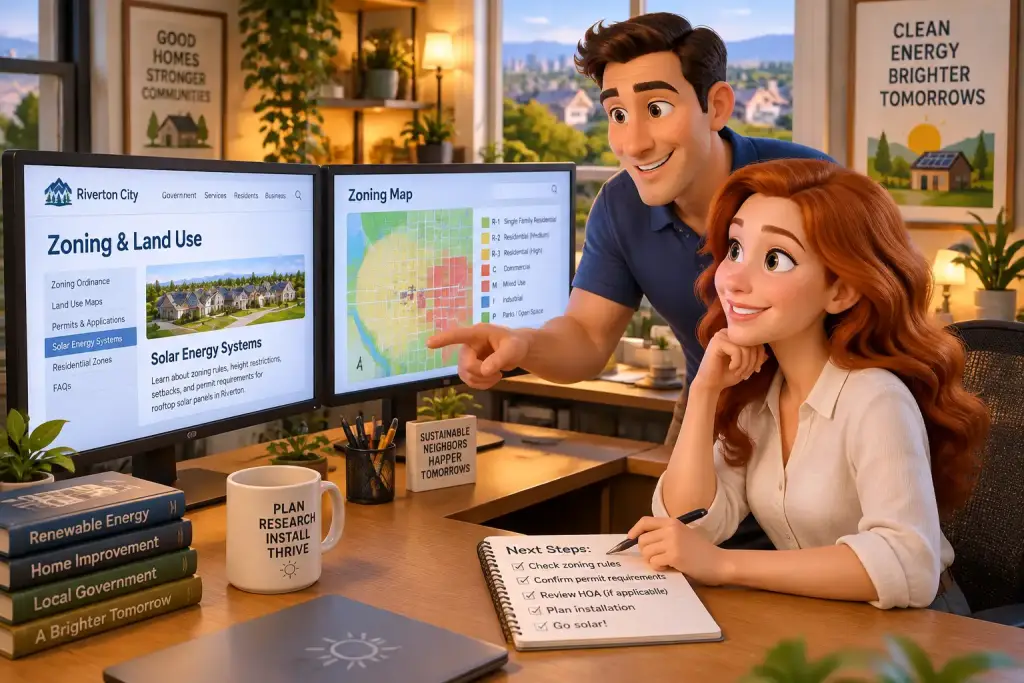
Your home lot may have rules from more than one place. City or county zoning rules may control front yard plant height, sight lines, setbacks, and grass or weed care. A homeowners association may also have yard rules. These are separate rules, so check both if your neighborhood has an HOA. Keep copies of what you find, including website pages, emails, and approved plans.
Mark the space on paper
Draw a simple map of your lot. You do not need a perfect drawing. Show the house, driveway, sidewalk, street, utility boxes, trees, fences, and the proposed garden. Add the bed size, such as 8 feet by 12 feet. Mark which side faces the road and where rainwater flows.
When we tested this setup in a small front yard, the paper sketch showed that a tall flower group would block the view near a driveway. Moving those plants just 4 feet farther back solved the problem before any soil work began. Small checks like this can prevent a hard conversation later.
- Keep plants low near driveways, street corners, and walkways.
- Call the local utility marking service before digging deep holes.
- Leave access space around meters, drains, and utility boxes.
- Check if your lot has an easement where planting is limited.
Which Local Rules Matter for a Residential Pollinator Garden?
Local rules often control plant height, setback distance, weeds, drainage, and clear views near roads. Read your zoning code and HOA rules before planting, then design the bed to fit the strictest rule.
Look first for rules about “weeds,” “noxious plants,” “yard maintenance,” “ground cover,” and “visibility.” The wording may not say pollinator garden. A code may require grass or managed ground cover in part of the front yard, but still allow planted flower beds. Some places limit plants near an intersection or driveway to 24 or 30 inches high. Other places allow taller plants if they sit farther from the street.
Setbacks matter too. A setback is the open space between a structure or planting area and a property line, street, or other feature. A flower bed may be allowed in a setback while a fence, raised wall, or large garden structure is not. If you plan a tall trellis, a rain garden basin, a deep border, or a sign, check those items one by one. Rules can change based on height and material.
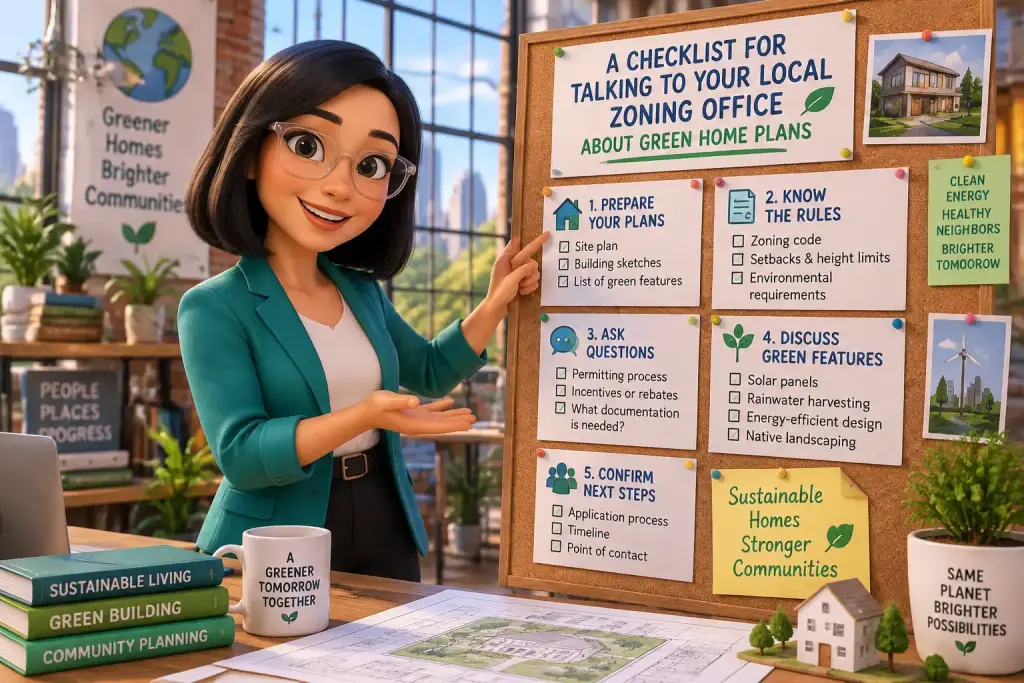
Ask clear questions at the planning desk
Call or email the city planning office if the online code is hard to read. Ask short questions with your lot details. For example, ask, “Can I plant native flowers up to 4 feet tall in a 10 foot by 15 foot front yard bed?” Ask if a setback applies and whether a permit is needed for edging, a low fence, or soil changes.
Write down the date, staff name, and answer. A staff reply may not replace a written permit, but it gives you a useful record. If the project needs a special approval, read our guide on zoning variance steps before you submit plans. A small change to the garden location may be easier than asking for approval.
Do not assume that a neighbor’s garden proves yours is allowed. Their lot may have different conditions, an older approval, or a rule that is no longer used. Check your own address and your own zoning district.
Choose Plants and Layouts That Look Planned
Use native plants in groups, place taller flowers toward the back, and add a clear edge around the bed. This layout gives pollinators food through the growing season while helping neighbors see the garden as a cared-for yard feature.
Native plants are plants that grew in your region before large-scale building and lawn planting. They often match local insects better than plants from far away. Still, native does not always mean suitable for every yard. Choose plants that fit your soil, sun, moisture, and local rules. Your county extension office or native plant group can often provide a list for your area.
A good planting plan uses flowers with different bloom times. Early spring flowers help insects when food is scarce. Summer flowers feed many bees and butterflies. Fall flowers can support insects before cold weather. Add host plants where possible. Host plants are plants that butterfly and moth young can eat. Leaves with small holes can be a sign that your garden is doing useful work.
| Garden choice | Simple target | Why it helps |
|---|---|---|
| Front edge plants | Keep them 12 to 24 inches tall | Creates a neat border and keeps views open |
| Tall flower group | Place 4 to 8 feet from walks | Reduces crowding and makes mowing easier |
| Plant spacing | Follow plant tag spacing, often 12 to 24 inches | Lets plants fill in without poor air flow |
| Mulch layer | Use 2 to 3 inches around plants | Holds moisture and slows weed growth |
| Garden border | Use stone, metal, mulch, or a short plant line | Shows a clear cared-for garden edge |
Let’s consider this simple layout for a 10 foot by 15 foot bed. Put low spring flowers and grasses along the front edge. Place medium flowers in the middle. Set taller species, such as some asters or goldenrods, toward the house or rear fence. Use repeating groups of three, five, or seven plants instead of one of every kind. Repeated groups look calmer and are easier for insects to spot.
Choose only plants that will stay within the space. A plant tag may list a 3 foot spread, but rich soil and rain can make it wider. Leave room for growth instead of packing every open spot in the first year.
Build the Bed Step by Step Without Creating Yard Problems
Build the garden in a clear order: mark the bed, remove turf, prepare soil, plant, mulch, and water. Work in small sections if needed so bare soil does not wash into drains or spread across the sidewalk.
Mark and remove the existing grass
Use a garden hose, string, or marking paint to outline the bed. Stand at the street and check the shape. Curved edges can look soft and natural, while straight edges may fit a formal home. Both can work if the border is clear.
Remove turf with a flat shovel or use sheet mulching. For sheet mulching, cut the grass low, cover it with plain cardboard, wet the cardboard, then add compost and mulch on top. Avoid glossy cardboard, plastic tape, and boxes with heavy ink. This method takes time, often several months, so it works best when you prepare in fall for spring planting.
Plant with room for growth
Dig a hole about twice as wide as the plant pot and no deeper than the root ball. Set the plant at the same soil level where it grew in the pot. Press soil around the roots, water slowly, and add mulch without covering the plant crown. The crown is where stems meet roots. Covering it can cause rot.
In everyday use, this step takes about five minutes per small plant once the bed is ready. Water each new plant deeply after planting. During dry weeks in the first growing season, check the soil 2 inches below the surface. If it feels dry, water near the roots in the morning. A slow soak is better than a quick spray.
- Mark the bed and confirm clear space near roads and utilities.
- Remove turf or cover it with cardboard and mulch.
- Plant low plants at the edge and taller plants farther back.
- Add 2 to 3 inches of natural mulch, leaving gaps around stems.
- Water new plants and check them twice each week for the first month.
Skip chemical weed killers and broad insect sprays near the garden. These products can harm the insects you want to support. Pull weeds by hand, use mulch, and cut back problem plants before they form seed. If you make compost at home, follow these yard compost rules so piles do not create odor, pest, or placement problems.
Keep the Garden Neat for Neighbors and Inspectors
A pollinator garden should have visible care signs, such as clean edges, paths, plant labels, and trimmed access areas. These details can lower complaints because they show the plants are part of a planned garden, not an ignored yard.
Neighborhood concerns often begin when plants lean over a sidewalk, dry stalks fill the entire front yard, or weeds spread into nearby lawns. You can support wildlife without letting the garden look wild from every angle. Mow or trim a narrow strip around the bed. Keep a path clear if the garden is large. Pull invasive plants early, before they take over the flower groups.
Some gardeners leave seed heads and dry stems through winter because birds and insects use them. This is a good practice, but use care near streets and neighbor fences. Cut down plants that fall into a sidewalk or block a view. In spring, leave some hollow stems standing until steady warm weather, because small insects may still be inside. Then cut stems to about 12 to 18 inches rather than clearing every stem to the ground.
Use simple visual care signs
Add a small sign that says “Native Pollinator Garden” if local sign rules allow it. A simple sign can help visitors understand why leaves, seed heads, and different plant heights are present. Do not place a sign where it blocks a driver’s view or violates local size rules.
Keep a few photos from planting day, midseason, and late fall. Save receipts or plant lists. If a question comes up, you can show that the area has a design, a plant plan, and regular care. This is more useful than trying to explain the garden from memory.
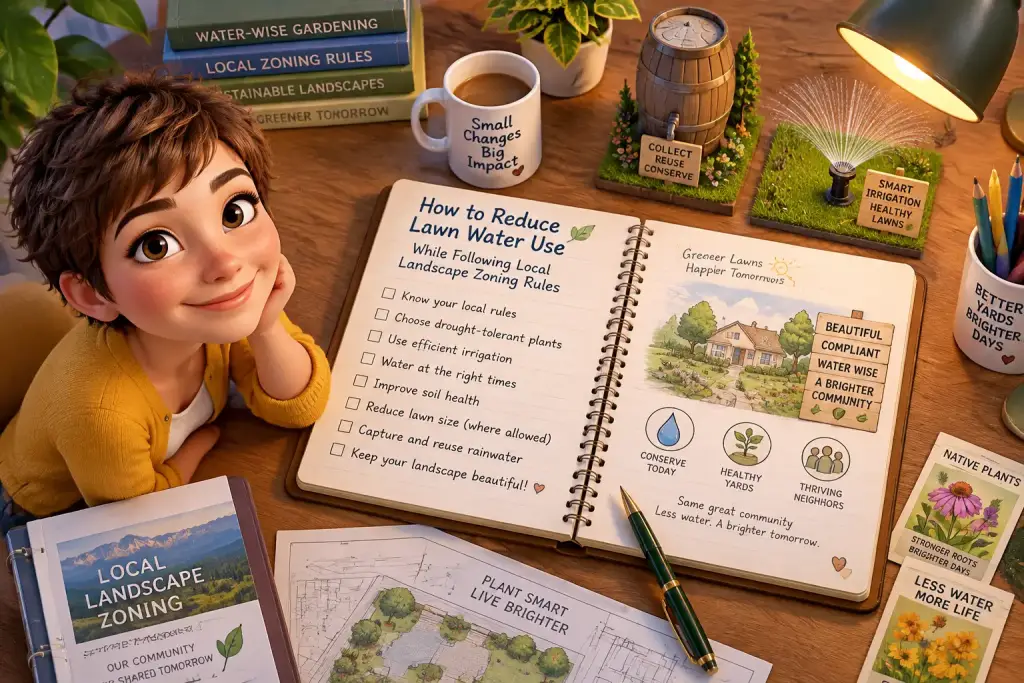
Water use also affects how a garden is viewed and managed. Group plants with similar water needs, then use mulch to reduce dry soil. Our guide to lower lawn water use can help you plan a yard that needs less regular watering while still following local rules.
Place the tallest native plants away from streets, sidewalks, driveways, and property lines. A neat 2 to 3 foot border of shorter plants can help the garden look planned and meet sight rules.
How Do You Fix Common Pollinator Garden Problems?
Fix most garden problems by checking the cause first: poor sun, wrong plant spacing, weak drainage, missed weeds, or a local rule. Act early, because small changes are easier than rebuilding a full bed after plants mature.
If plants flop onto a walkway, do not assume the whole garden has failed. The plants may be too close together, getting too much rich soil, or growing toward better light. Cut back a few stems, add a simple support, or move tall plants in the next cool season. Place lower plants along the front edge to hide bare stems and keep the bed looking full.
If weeds appear, identify them before pulling. Some young native plants can look like weeds, especially in the first year. Keep plant tags or take photos when you install each group. Pull true weeds after rain, when roots come out more easily. Cover open soil with mulch, but do not pile mulch against woody stems or plant crowns.
- Plants are not blooming: Check sun hours, soil moisture, and the plant’s normal bloom season.
- Water pools after rain: Add plants that handle wet soil, or ask a local expert about drainage changes.
- Neighbors call it messy: Sharpen the edge, add a short border, and remove plants leaning into public areas.
- Garden gets too tall: Move tall plants back, divide crowded clumps, and check local height limits.
- Few insects visit: Add more flower types with spring, summer, and fall bloom times.
Do not remove every leaf with holes. Caterpillars, beetles, and other insects may use those leaves as food. Watch for serious damage across several plants instead. Healthy gardens usually have some chewing, some bare spots, and different insect activity at different times.
When a zoning officer contacts you, stay calm and ask for the exact rule section. Take photos and compare the rule with your garden map. Correct clear issues, such as blocked sidewalks or plants over a stated height. If the rule is unclear, request a written explanation before making a major change.
Check Your Garden Through Each Season
Check the garden every week during the first growing season, then use short monthly checks after plants settle in. Look for moisture, weeds, blocked paths, plant height, and insect activity so small problems stay small.
Spring is the time to clear only what you need, watch for new growth, and fill empty spaces. Check mulch depth after winter rain. Pull weeds before they flower. If you cut back old stems, leave some short pieces for insects that may still be using them. Add plant labels while you can still remember what is where.
Summer needs regular checks for dry soil and plant crowding. Water new plants during long dry periods, but avoid watering every day. Deep, less frequent watering helps roots grow down. Watch sidewalk edges, driveway views, and street corners, especially after fast growth or heavy rain.
Fall is a good time to add many native plants because cooler weather can help roots settle. Leave selected seed heads for birds, but remove diseased plant parts and invasive weeds. Winter is useful for planning. Review your photos, note which flowers drew the most activity, and decide what to divide, move, or add next spring.
A successful garden does not need to look the same every month. It should look cared for, stay within local limits, and offer flowers, leaves, stems, and shelter across the year. Keep your map updated when you move plants. That simple record helps you care for the garden and protect it if questions arise.
Your first pollinator garden may begin with one small bed. Give it a clean edge, choose plants that fit the site, and build from there. A well-kept garden can support local wildlife while showing that good environmental choices and neighborhood rules can work together.

Letizia Neri
Founder & Environmental Zoning EditorLetizia Neri, born and based in Roma, Italy, is the founder and lead editor of Eco Zoned. She helps homeowners understand local environmental zoning rules through practical, plain-language advice for planning projects and making informed property decisions.