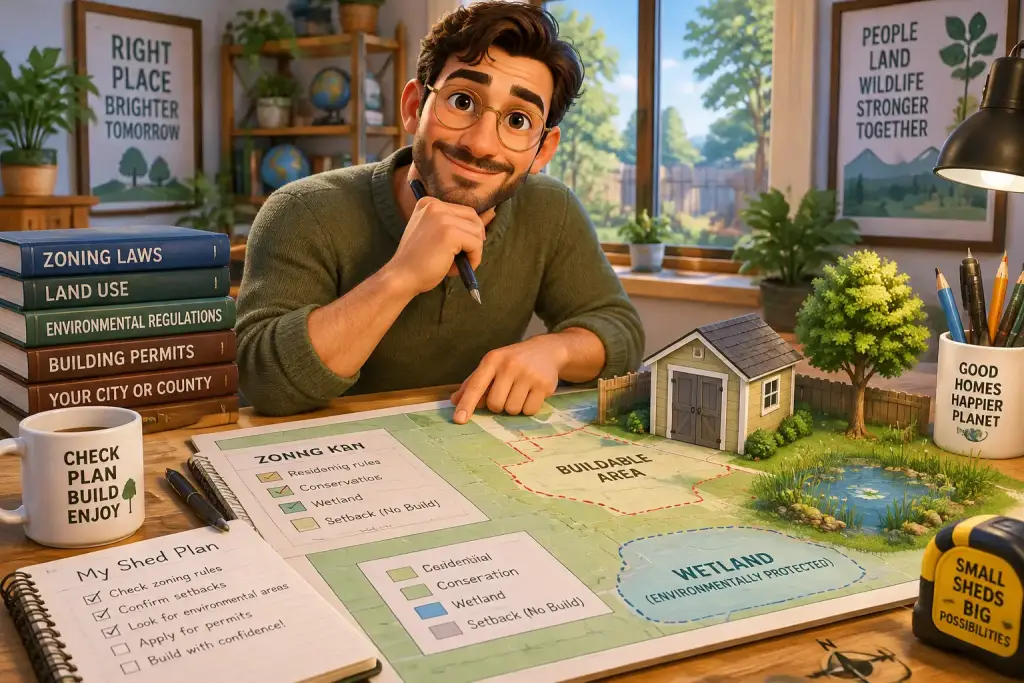








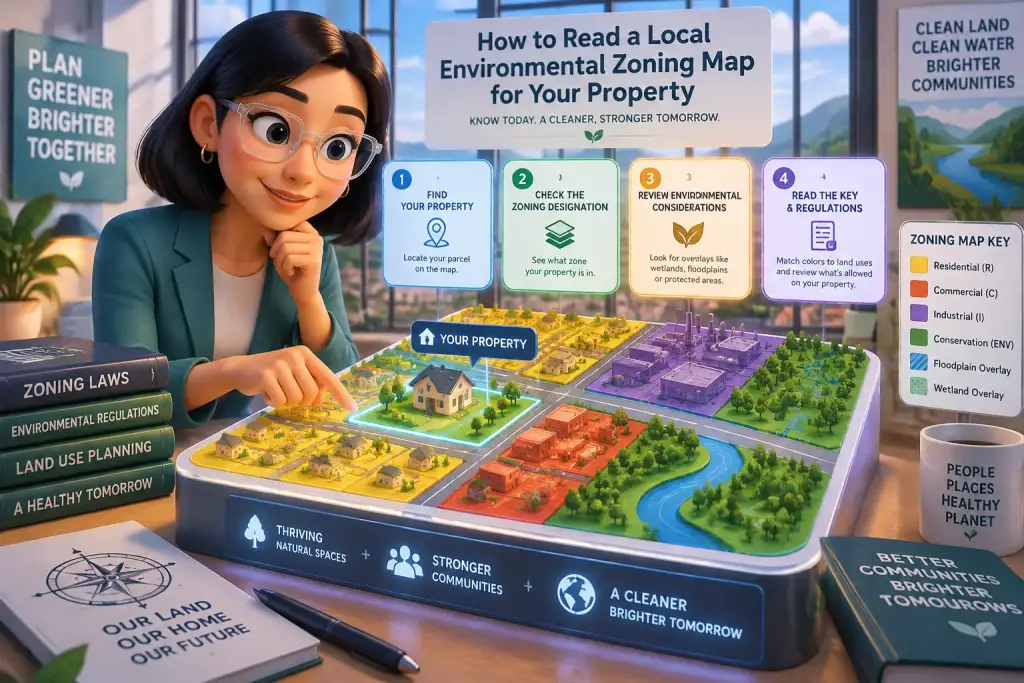
A local zoning map can show more than a simple land use label. It can point to flood areas, wetland buffers, tree rules, shoreline limits, and other local limits that may affect a shed, driveway, addition, septic work, or garden project. Reading it in the right order helps you ask better questions before work begins.
- Match the parcel number, street address, and boundary shape before trusting any zoning map result.
- Read the base zone first, then switch on floodplain, wetland, watershed, and habitat overlay layers one at a time.
- Save a dated map image and confirm unclear lines with the local zoning office before buying materials or filing plans.
Table of Contents
- Gather the Right Property Facts Before Opening the Map
- How Do You Locate the Right Parcel?
- Read the Base Zone and Map Legend First
- How Do You Check Environmental Overlays?
- Match Map Boundaries to Your Planned Work Area
- Fix the Most Common Zoning Map Reading Slip-Ups
- Turn Your Map Notes Into Safer Daily Property Decisions
Gather the Right Property Facts Before Opening the Map
Start with the parcel number, full street address, and a rough idea of your lot shape before you open a zoning map. These details help you avoid reading a nearby parcel by mistake, which is one of the most common causes of wrong zoning results.
First, look at your property tax bill, deed, survey, or county property record. The parcel number may also be called an assessor number, property ID, or tax map number. It is often a long group of numbers, such as 14-228-006. Use it when the map search tool accepts parcel searches, because street addresses can change or appear in different forms.
Next, collect any papers that show the lot boundary. A recorded survey is best because it may show corner pins, easements, road edges, and measured lot lines. If you do not have one, use the boundary shown on the assessor map as a starting point, but treat it with care. Assessor lines are useful for general checking, yet they may not be exact enough for fence placement or building work.
Write down the project you may want to do. Be specific. “Backyard work” is too broad, while “a 12 foot by 16 foot shed, placed 10 feet from the rear line” gives you something useful to check. A zoning map does not approve a project by itself, but it helps you spot issues before you spend money.
Make a simple property note sheet
Keep one page of notes beside you while you read the map. This avoids a common problem where a homeowner sees a colored area, then cannot remember which layer created it.
- Property street address and parcel number
- Lot size, if known, in square feet or acres
- Planned work, including size and location
- Nearby creek, pond, slope, woods, or shoreline
- Date you opened the official map
Before you decide, check whether your local government has separate city, county, and regional maps. A home inside city limits may follow city zoning, while a rural property may follow county rules. Some places also have a watershed district or conservation office with its own map layer. The right map source matters as much as the colors on the screen.
How Do You Locate the Right Parcel?
Locate the right parcel by searching the parcel number first, then compare the street address, lot shape, and nearby roads with your records. Zoom in until you can see the parcel outline clearly, because a broad map view can hide small boundary details.
Open your local planning, zoning, GIS, or property assessor website. GIS means a map system that combines property information with map layers. Most public sites have a search box near the top of the page. Enter your parcel number exactly as shown on your tax paper. If the search does not work, try the street number and street name without extra words.
Check three points before reading colors
First, make sure the address label sits on the correct lot. Next, compare the lot shape with your survey or deed sketch. After that, check nearby fixed points such as an intersection, stream, lake edge, or neighbor’s driveway. These checks take only a few minutes, but they can prevent a bad reading.
In everyday use, this step takes about five minutes for a normal city lot. Larger rural parcels can take longer, especially where one tax parcel includes fields, woods, or several separate pieces of land. Do not assume the house icon marks the full property. It often marks only the building location or mailing address.
Look for a parcel information box that appears when you click the lot. It may list the owner name, parcel size, base zone, tax value, and map date. Save a screen image showing this box if the site allows it. The map image becomes useful later when you speak with local staff or compare changes on a newer map.
Check this point carefully: a parcel line on a public online map is not always a surveyed boundary. The line may be shifted a few feet due to map scale, old aerial photos, or a data error. For planning purposes, it is helpful. For placing a building near a line, ask the zoning office whether a current survey is needed.
Read the Base Zone and Map Legend First
Read the base zone before turning on special environmental layers, because the base zone sets the main land use rules for the parcel. The legend tells you what each color, pattern, line, and symbol means, so never guess from color alone.
Your base zone may use letters such as R-1, R-2, AG, RR, or MU. The letters are local codes, not national rules. R may mean residential in one town, while RR may mean rural residential in another. Open the zoning legend or code page linked from the map and write down the full name beside the code.
Base zones often control the basic size and location rules for homes and structures. They may cover lot width, building height, front setback, side setback, rear setback, parking, and allowed home uses. A setback is the empty space required between a structure and a property line, road, stream, or other protected area.
Do not stop once you see a residential code. A property can be in a residential zone and still have floodplain, wetland, habitat, or historic area limits. Think of the base zone as the first rule set. Other map layers may add more rules to a smaller part of the same lot.
Use the legend as your map guide
Open the legend panel, which may be marked “Layers,” “Map Contents,” or “Symbols.” Turn on only one or two layers at first. A screen filled with colors can look alarming, but it often becomes clear when you read each layer by itself.
- Turn on the zoning district layer and read the zone code.
- Open the legend and record the color or pattern for that code.
- Look for linked rules, district notes, or zoning code sections.
- Check required setbacks for your project type.
- Save the view before switching to environmental overlays.
When we tested this setup on several county map sites, the legend solved most early confusion. A blue line could mean a creek, a drainage channel, or a flood boundary depending on the layer. The label beside the symbol gave the real answer, not the color itself.
A base zone map also may show planned roads, public right of way lines, or utility corridors. These marks can matter if you hope to build close to a road or along one side of the lot. Read the map notes at the bottom of the page because they may explain how old the data is and who supplied it.
How Do You Check Environmental Overlays?
Check environmental overlays by turning them on one at a time and comparing each marked area with your parcel boundary and planned work area. An overlay may add limits to part of a lot even when the base zone allows homes, sheds, additions, or driveways.
Common overlays include floodplain areas, wetlands, shoreline zones, steep slope areas, wellhead protection areas, tree protection zones, and wildlife habitat areas. Your local map may use different names. Some overlays are shown as solid colored areas, while others use dots, crosshatching, colored lines, or shaded buffers.
Start with floodplain information if your lot is near a creek, river, lake, drainage ditch, or low area. Floodplain lines may affect where you can add fill, build an addition, place a shed, or store certain materials. Our guide to floodplain zoning can help you prepare questions before you plan work near a mapped flood area.
Next, check wetland and water layers. A wetland map can be a warning sign, not a final field decision. Some maps show likely wetland areas based on air photos or past records. Local staff may require a site visit or a report before they decide where the wetland edge truly sits. Do not treat a map line as permission to dig right beside it.
| Map check | What to look for | Useful next step |
|---|---|---|
| Base zoning district | Zone code, lot rules, setbacks | Read the linked zoning code section |
| Floodplain overlay | Floodway, flood fringe, elevation note | Ask about building and fill limits |
| Wetland layer | Wetland mark, buffer, water course | Check if field review is needed |
| Shoreline or watershed layer | Setback line and protected water area | Measure from the stated reference point |
| Parcel boundary | Lot shape, road edge, easement | Use a survey for close placement |
After that, look for buffer rules. A buffer is a protected strip of land beside water, wetlands, slopes, or habitat. The map may show the protected feature but not the full buffer width. The rule text might require 25 feet, 50 feet, or more from a wetland edge or stream bank. Always read the written rule that goes with the layer.
If your home uses a private septic system, review both environmental layers and health rules. Setbacks from wells, water, and septic parts can overlap. Use this septic zoning guide when you need to sort out those separate map checks.
Print or save one map view with the parcel line, legend, scale bar, date, and active layers visible. This gives staff a fast way to check the same result you saw.
Match Map Boundaries to Your Planned Work Area
Match the map boundary to the exact spot where work may happen, not just to the lot as a whole. A marked overlay may cover only one corner of a property, but that corner can still block the best place for a shed, addition, deck, or driveway.
First, draw your idea on a copy of the parcel map. Mark the house, driveway, septic area, well, trees, creek, and planned structure. You do not need a perfect drawing. A clear sketch with rough distances is enough to show whether your project touches a colored overlay or setback line.
Next, use the scale bar. Map tools may show feet, meters, or both. Zoom level matters. A line that looks far from your project when zoomed out may sit only 15 feet away when you zoom in. Some sites include a measure tool. Use it for rough planning, but do not use a screen measurement as a final building stakeout.
Measure from the correct starting point
Rules often measure setbacks from a specific point. A shoreline setback may start at the ordinary high water mark. A road setback may start at the right of way line, not the road pavement. A wetland buffer may start at a field-set wetland edge rather than a map estimate.
This detail changes results. For example, a driveway may appear 30 feet from a creek on an aerial image, but the protected buffer might start from a wider mapped channel edge. A new shed might also meet a property line setback but fail a separate wetland buffer rule. Check each rule on its own.
Keep a short list of distances you need to confirm:
- Distance from project to side and rear lot lines
- Distance from project to road right of way
- Distance from project to wetland, creek, or shoreline
- Distance from project to septic tank, drain field, or well
- Distance from project to a mapped flood area
Before you decide, check for easements. An easement gives another party the right to use part of private land for a stated reason, such as drainage, power lines, access, or utilities. It may not appear on every zoning map. Your survey, title papers, and local records may show more detail.
If the project is close to any line, take your sketch and saved map image to the zoning office. A helpful starting list is available in our zoning office checklist. Ask staff which map layer controls, what date the data uses, and whether a permit review needs a survey or site visit.
Fix the Most Common Zoning Map Reading Slip-Ups
Fix zoning map mistakes by checking the map date, layer name, parcel match, and written rule before acting on a result. Most errors happen when a homeowner reads a color without opening its legend, or treats an online map as a final approval.
A frequent slip-up is using an old PDF map found through a web search. It may show a former zoning district or missing overlay. Check the date printed on the map and compare it with the current map on the local government website. If the online tool has a “last updated” note, save that information with your screen image.
Another problem is confusing a flood hazard map with a local floodplain zoning map. They can be related, but they may not use the same labels or show the same details. Check the source name in the layer panel. Then ask staff which map they use for permit decisions on your property.
Some homeowners also mistake a map boundary for a hard line measured in the field. Public map data can be off because of scale, air photo shift, or general parcel drawing. A line is still important, especially when it shows a protected area. It simply may need field checking before a final decision.
Use a calm correction routine
When something looks wrong, do not turn on every layer and hope for an answer. Go back to the parcel view, turn off extra layers, and rebuild your check in order. This simple routine makes it easier to see where the confusing result began.
- Confirm the parcel number and lot outline.
- Check the base zoning district and legend.
- Turn on one environmental overlay.
- Read the layer note, date, and source.
- Compare the marked area with your project sketch.
- Ask local staff about any unclear line or rule.
Do not rely only on a neighbor’s past project. Their lot may have a different base zone, different wetland edge, older permit, or special approval. Even two homes on the same street can face different rules because lot lines and environmental features do not follow house numbers.
Also watch for map labels that say “reference only,” “planning use,” or “not for survey.” These notes do not mean the map is useless. They mean you should use it for early planning and questions, then get the right level of proof for the work you want to do.
Turn Your Map Notes Into Safer Daily Property Decisions
Use your map notes before routine property work, not only before a large building project. A saved zoning map and simple distance sketch can guide choices about grading, tree removal, drainage, fencing, garden sheds, and where to store soil or building materials.
Keep a folder, paper or digital, with your parcel image, map date, base zone code, overlay notes, survey, and past permits. Add photos when you notice wet ground, standing water, erosion, or a changing stream edge. These records can help you explain site conditions clearly if you later ask about a permit.
Check the map again before you order a contractor, rent digging equipment, or buy a large structure. Map layers and local rules can change. A project that looked simple last year may need a closer review if a new floodplain study, wetland record, or zoning change affects the parcel.
For small jobs, use the map as a first filter. If the work is far from lines, water, slopes, and marked areas, the next step may be simple. If the project sits near an overlay, slow down. Call the local zoning office and describe the project size, location, and distances you measured.
Ask for the answer in writing when possible, especially for work near a wetland, flood area, shoreline, or property line. An email reply can help you remember the staff advice and show what facts you gave them. Keep in mind that an informal email may not replace a permit when one is required.
Your best routine is simple: identify the right parcel, read the base zone, check one overlay at a time, compare it with your project area, and confirm unclear details before work starts. That approach turns a busy-looking local map into a practical home planning tool.

Letizia Neri
Founder & Environmental Zoning EditorLetizia Neri, born and based in Roma, Italy, is the founder and lead editor of Eco Zoned. She helps homeowners understand local environmental zoning rules through practical, plain-language advice for planning projects and making informed property decisions.