








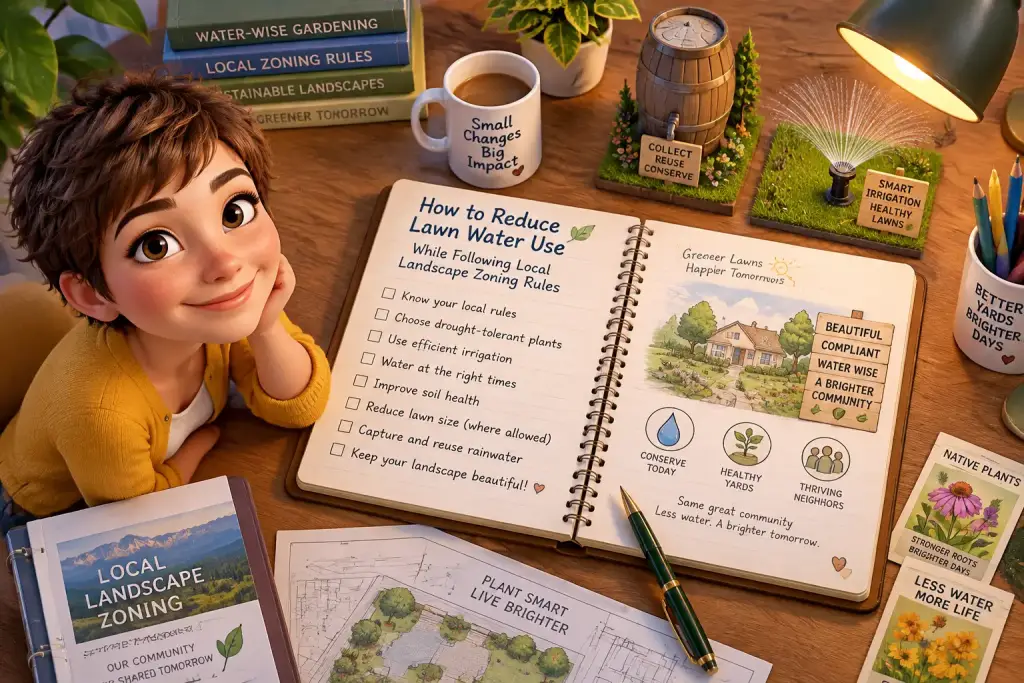
Reducing lawn water use starts with knowing what your local rules allow before you change turf, sprinklers, plants, or drainage. Have you noticed that a green lawn can need far more water than your family wants to pay for each summer? It does not have to stay this way. A careful plan can cut waste while keeping your yard within local zoning rules, property standards, and safety limits.
- Check city code, permit rules, HOA rules, and setback limits before removing turf or adding new yard features.
- Water turf deeply but less often, then adjust the schedule after rain, heat, or a change in soil moisture.
- Keep a simple photo and meter record to show that low-water yard changes remain neat and well cared for.
Table of Contents
Check Yard Rules Before Changing Turf
Start by reading the rules for your lot before removing grass or adding water-saving features. Local zoning rules may control ground cover, drainage, fences, hard surfaces, sight lines, and work near sidewalks.
A low-water yard is not always a permit-free yard. Some towns allow homeowners to replace turf with mulch, native plants, or ground cover without approval. Other towns require a permit if you change the grade, install a rain garden, add a wall, or connect drainage work near a public street. Your local planning office, building office, or public works office can usually tell you which rule applies.
Look at more than one set of rules. Zoning code is one part of the picture. A homeowners association may have plant height rules, lawn care rules, or limits on visible rain barrels. A historic area may also have design rules. These rules can be stricter than city rules, so save copies of both before you spend money.
Make a simple rule checklist
A good first step is making a one-page checklist for your front, side, and back yard. Mark the property line, driveway, sidewalk, street corner, utility boxes, and downspouts. Then note the areas where you want to use less water.
- Check if turf removal needs a permit or plan review.
- Ask about plant height near driveways and street corners.
- Check setback rules for rain gardens, swales, and drainage work.
- Ask if gravel or pavers count as hard surface coverage.
- Read weed and property upkeep rules for native plant areas.
Keep your questions clear. Ask, “Can I replace 300 square feet of front lawn with native plants and mulch?” Ask if a dry creek bed needs approval when it carries roof runoff. Written answers by email are useful because staff advice can be easier to remember later.
When we tested this setup on a small home lot, the rule check took less than an hour online and one short call to the town office. That early work avoided a costly mistake. The planned gravel strip would have counted toward the lot’s hard surface limit, so we changed it to mulch and planted ground cover instead.
Which Lawn Water Use Changes Fit Local Zoning Rules?
The safest water-saving changes usually keep the existing yard shape and improve how water reaches plants. Timer changes, sprinkler repairs, mulch, and approved plant beds often need less review than major grading or drainage work.
Begin with changes that do not move water onto another property. Runoff is one of the main reasons local rules matter. Water from sprinklers, downspouts, and hard surfaces should stay on your lot unless a local drainage system is made for it. Do not aim sprinkler heads at a sidewalk, road, neighbor’s fence, or shared path.
Grass does not need daily watering in most places. A healthy established lawn often does better with a slow, deep soak once or twice a week than with short daily runs. Soil type changes the amount. Clay soil takes water slowly, while sandy soil drains faster. Check the top 3 to 4 inches of soil before adding water. If it feels damp, wait.
Choose low-risk water cuts first
Set your irrigation timer to run before sunrise, often between 4 a.m. and 8 a.m. This can reduce water loss from heat and wind. Avoid watering during rain, strong wind, or the hottest part of the day. A rain sensor can pause a scheduled cycle after rainfall, and a smart controller can change run time based on local weather data.
Replace broken spray heads before buying new plants. A cracked nozzle can waste a surprising amount of water and leave one area wet while another stays dry. Check each zone while it runs. Look for mist, puddles, water spraying onto pavement, and heads blocked by grass or shrubs.
Use mulch around trees and plant beds, but keep it a few inches away from trunks and stems. A 2 to 3 inch mulch layer helps soil hold moisture and can reduce weeds. Choose a natural mulch that fits local yard rules. Some towns have rules about loose material washing into streets or storm drains.
Native plant beds can reduce the amount of thirsty turf, but they still need care in the first growing season. Water new plants deeply once or twice a week until roots settle in. Use native plant rules as part of your planning so the bed is placed, marked, and cared for in a way your town accepts.
Build a Lower-Water Yard Plan Step by Step
Make a lower-water yard plan by keeping useful turf, reducing waste in hard-to-water spots, and adding plants where grass often struggles. Divide the yard into small zones so each area gets the right amount of water.
Start with a sketch, not a shovel. Draw the house, walkways, large trees, hose taps, sprinkler zones, and low spots. Then mark places where grass turns brown first, water pools, or mowing is hard. Narrow strips beside driveways, steep banks, and shady spots often use water poorly. These are good places to reduce turf first.
Step 1: Measure the lawn area
Measure each lawn section with a tape measure, phone tool, or simple grid drawing. Length times width gives a rough square-foot number for a rectangle. Write down how long each sprinkler zone runs. This gives you a starting point for later changes.
Place four or five straight-sided cans around one sprinkler zone. Run the zone for 15 minutes, then measure the water in each can. If the cans hold about one-quarter inch of water, the zone gives about 1 inch per hour. This basic catch-can test shows if water is spread evenly.
Step 2: Reduce turf in weak areas
Remove turf in small stages. Begin with a 50 to 100 square foot strip where grass needs frequent watering. Replace it with approved native plants, low-growing ground cover, or mulch. Keep a clean edge between turf and beds. A neat border helps the change look planned rather than neglected.
Do not cover every open space with stone. Large gravel areas can trap heat, send rainwater quickly toward a drain, and count as hard surface under some local rules. Use plants and mulch where possible. If you want to collect roof water, read our guide to home rainwater permits before installing barrels, pipes, or overflow lines.
Step 3: Match plants to sun and soil
Place drought-tolerant plants in sunny, dry areas and moisture-loving plants only where soil stays damp. Group plants with similar water needs together. This lets you water one bed properly without soaking plants that need less water.
Keep plant height in mind. Low plants near a driveway corner help drivers see people, bikes, and cars. Taller plants may work better along a back fence. If local rules set a height limit for front yards, measure plants at their adult height, not their size at purchase.
Read your water meter at the same time each week. A sudden rise can point to a broken sprinkler head, valve leak, or timer setting that needs attention.
How Can You Set Irrigation Without Breaking Rules?
Set irrigation so water stays on your lot, reaches plant roots, and follows local watering limits. Use short tests, correct sprinkler heads, and a timer schedule that changes with rain and seasons.
Some cities set watering days during dry months. Others ban outdoor watering at certain times or limit it during drought alerts. Check your water provider’s current notices each season. A rule may change quickly after low rainfall or a heat wave. The EPA WaterSense program also offers simple guidance on finding water waste outdoors.
| Yard task | Simple setting or tool | Rule check |
|---|---|---|
| Watering turf | Run before sunrise, 1 or 2 days weekly | Check local watering day limits |
| Testing coverage | Use 4 to 5 catch cans for 15 minutes | Keep spray off streets and sidewalks |
| Replacing turf | Measure square feet and mark bed edges | Ask about permits and plant rules |
| Adding mulch | Apply a 2 to 3 inch layer | Stop loose mulch entering drains |
| Using roof water | Add a covered rain barrel with overflow control | Check barrel location and drainage rules |
Set each zone by plant need, not by habit. Turf may need a different run time from shrubs, trees, and flower beds. Drip irrigation is often useful for plant beds because it sends water close to the soil. Check local rules before adding pipes near property lines or changing a shared drainage area.
In everyday use, this step takes about five minutes each week. Look at the weather, feel the soil, and pause the timer after a good rain. During cool or rainy weeks, grass may need no extra water. During a dry spell, increase run time slowly instead of adding extra watering days at once.
Watch for runoff after each change. If water reaches the curb before the soil absorbs it, split the cycle into shorter runs. For example, run a zone for 6 minutes, wait 30 minutes, then run it for 6 minutes again. This gives clay soil time to take in water and can help protect nearby drains.
Track Results and Keep the Yard Looking Cared For
Track water use, plant health, and yard appearance for one full season to confirm that your changes work. A simple weekly record helps you catch leaks, follow rules, and show that the yard is being maintained.
Take photos from the same spots once a month. Photograph the turf, plant beds, street view, and drainage areas after rain. These photos can help you see thin grass, dead plants, erosion, or mulch that has moved. They also give you a useful record if a neighbor or local inspector asks about your work.
Watch for common slip-ups
The most common problem is reducing water too fast. A lawn that received daily water may need a few weeks to adjust to deeper, less frequent watering. Cut back in small steps. If grass stays blue-gray, folds its blades, or does not spring back after walking on it, it may need a longer soak.
Another problem is a plant bed that looks untidy during early growth. Add a clear edge, keep paths open, remove dead stems when needed, and pull listed weeds. Put a small plant marker near a new native bed if local rules allow it. This can show that the area is planned and cared for.
Do not let rain barrel overflow soak a neighbor’s lot or a building wall. Direct overflow to a safe planted area on your own land, if local rules allow it. For systems that reuse household water, review greywater safety checks before any installation. Greywater has different health and pipe rules from rainwater.
Use a monthly water check
Compare your monthly water bill with the same month from the prior year if you have that record. Also write down rainfall, major heat periods, and irrigation repairs. A lower bill is helpful, but a stable yard and dry sidewalks matter too. Water savings should not create runoff, erosion, or dead plants.
Keep your plan flexible. Replace a plant that repeatedly fails instead of pouring more water on it. Move a sprinkler head if a shrub now blocks it. Review town notices before each dry season, especially if your area uses temporary watering limits.
A lower-water yard can still look clean, green in the right places, and fully cared for. The goal is not to stop watering forever. The goal is to use each gallon with care, protect nearby property, and make changes that fit the rules where you live.

Letizia Neri
Founder & Environmental Zoning EditorLetizia Neri, born and based in Roma, Italy, is the founder and lead editor of Eco Zoned. She helps homeowners understand local environmental zoning rules through practical, plain-language advice for planning projects and making informed property decisions.