








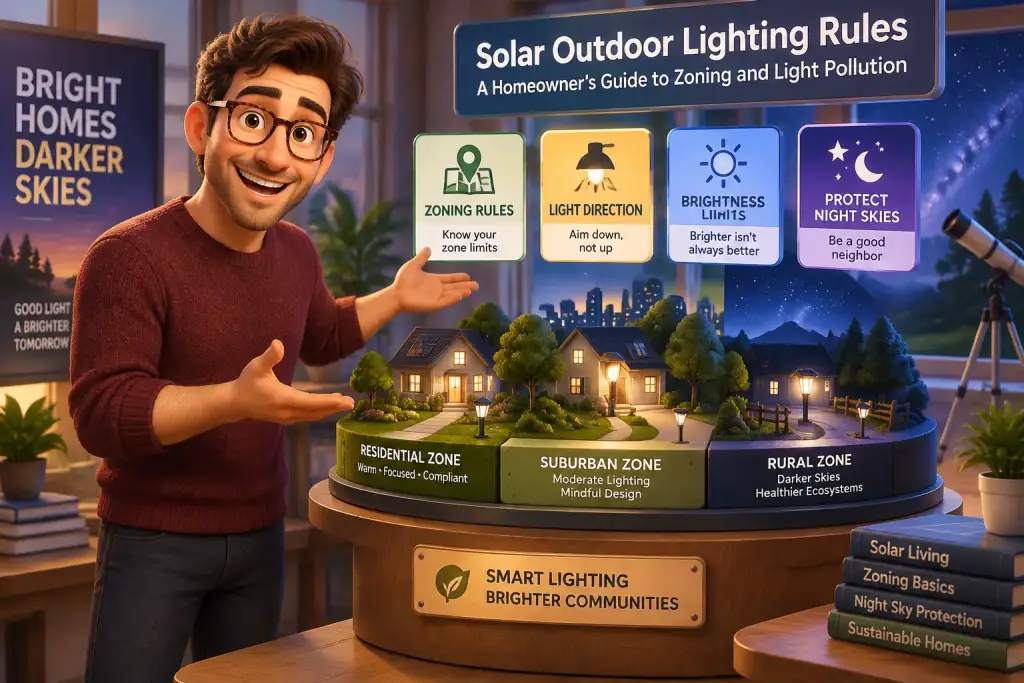
Outdoor light should feel calm. Solar lighting can make a path safer and show a front door clearly, but a poorly placed fixture may cause glare, upset neighbors, disturb wildlife, or break a local zoning rule. A careful plan helps you use light only where it is needed.
- Aim every outdoor fixture downward and use a shield to stop glare from reaching nearby homes, streets, and natural areas.
- Check local zoning rules, HOA rules, and wetland limits before installing poles, large fixtures, or permanent wiring.
- Test solar lights after dark from your property line, driveway, sidewalk, and nearest neighbor view.
Table of Contents
- Start with a property map and local rules
- How do solar outdoor lights affect zoning and neighbors?
- Choose fixtures and locations before buying
- Install solar lighting step by step
- Which settings reduce light pollution?
- Fix common solar lighting mistakes before they become complaints
- Check your lights after dark and through the seasons
Start with a property map and local rules
Check your local rules before buying solar fixtures, especially if you plan to use poles, bright floodlights, or lights near a road. A small path light often needs no permit, but zoning rules may limit height, brightness, placement, and hours of use.
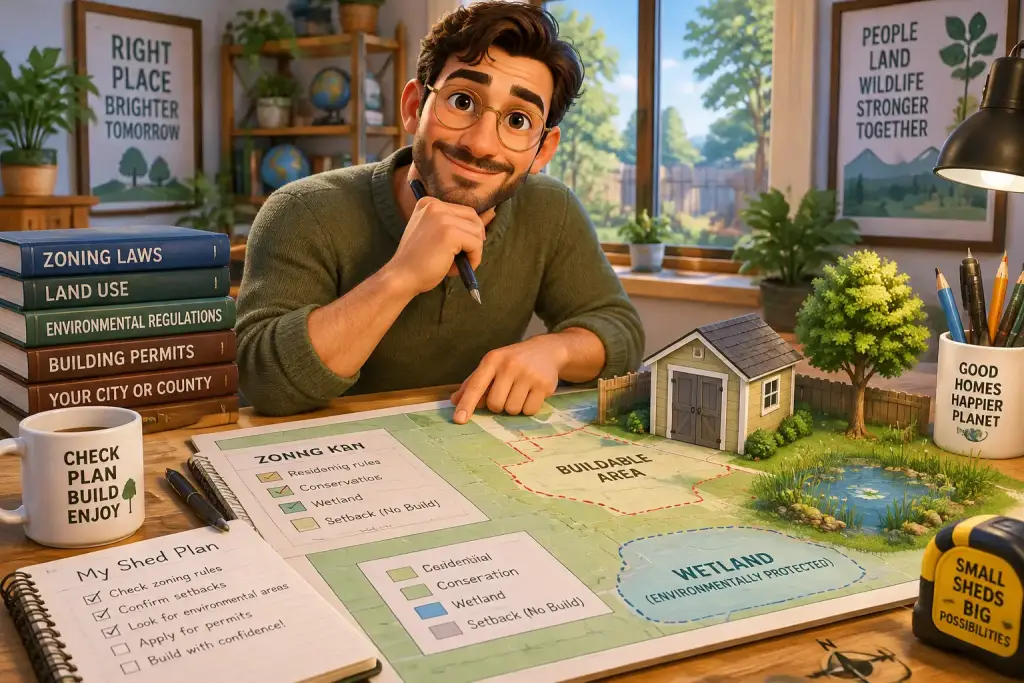
Begin with a simple property sketch. Mark your house, driveway, walkways, porch, garage, fence, trees, road edge, and nearby homes. Add any creek, pond, wetland, wooded area, or protected open space near the yard. These details matter because outdoor light can cross a property line even when the fixture sits fully on your land.
Look at your city or county zoning page, then search for terms such as “outdoor lighting,” “site lighting,” “glare,” “light trespass,” and “dark sky.” Some places use a maximum fixture height. Others set a limit for light levels at the property line, often measured in foot-candles. A foot-candle is a simple measure of how much light reaches a surface.
Homeowners association rules may be stricter than town rules. A neighborhood may limit fixture style, pole height, motion sensors, or visible wiring. If your home is in a historic district, fixture design may also need review. Keep screenshots or printed copies of the rules you use, along with a note of the date you checked them.
Call the planning or building office when the wording is unclear. Ask direct questions: “Can I install solar lights along my driveway?” “Is a six-foot solar post light allowed?” “Do you limit brightness at the property line?” This five-minute call can stop an expensive mistake.
How do solar outdoor lights affect zoning and neighbors?
Solar outdoor lights can affect zoning when they create glare, shine beyond your property, or use a tall permanent structure. They also affect neighbors when light enters bedroom windows, reflects off pavement, or makes a nearby yard feel bright late at night.
Let’s look at this in daily use. A warm, low path light beside a front walk is usually less likely to cause trouble than a solar floodlight mounted high on a garage. The floodlight may point toward a driveway, but its beam can still spill across a sidewalk or into a neighbor’s second-floor window.
Light trespass means unwanted light reaching another property. Glare means the source itself is too bright to look at comfortably. Both can lead to complaints, even if the fixture is solar powered and uses no grid electricity. Solar power changes how the fixture gets energy. It does not remove your duty to place it carefully.
Wildlife areas need extra care. Bright white light can affect birds, insects, bats, frogs, and other animals that use darkness as part of their normal routine. Warm light, usually 2200K to 3000K, has less blue light than cool white light. It is often a better choice near trees, water, and garden edges.
Road safety also matters. Do not point lights toward a street, road sign, bike path, or driver’s line of sight. A bright solar light near a driveway can make it harder for a driver to see a person walking from a darker area. Keep fixtures low and aim beams down toward the ground.
Choose fixtures and locations before buying
Choose low, shielded fixtures that light a small target area instead of buying the brightest solar product available. Plan the location first, then match the fixture to the job, such as lighting steps, a gate latch, or a short walking path.
Start by asking what needs light. A front step may need one down-facing wall light. A ten-foot path may need two or three low lights placed several feet apart. A gate may only need a small motion sensor light that turns on for a short time. More fixtures do not always make a yard safer.
Match the fixture to the task
Path lights work best when they are about 12 to 24 inches tall and have a covered top that sends light toward the ground. Step lights fit low on a wall or stair riser. Wall lights can help near doors when they use a full shield or a shade that blocks side glare. Solar post lights are more visible and may need closer rule checks.
Check the solar panel location before you install anything. Most small solar panels need several hours of direct sun for a reliable charge. A panel under dense tree cover may run only a few hours after dark, even if the product label promises longer use. Place panels where they receive morning or afternoon sun without facing a neighbor’s window.
Set a sensible brightness target
Use the lowest useful light output. For short paths and steps, roughly 10 to 50 lumens per fixture is often enough. A front door may need around 100 to 300 lumens, depending on the fixture height and beam direction. A motion light can use more lumens, but it should point down and stay on for a short period.
- Use warm white light from 2200K to 3000K near homes, trees, and water.
- Choose full-cutoff or shielded fixtures when the bulb could be seen from the side.
- Keep path lights at least several feet from a property line when possible.
- Place solar panels away from porch lights that may confuse a dusk sensor.
When we tested this setup around a side yard path, three low warm lights worked better than one bright floodlight. The walking surface was easy to see, while the fence and nearby bedroom window stayed dark. That is the goal: useful light with a small footprint.
Install solar lighting step by step
Install solar lighting after you mark the beam area, check sun exposure, and confirm the fixture will not shine beyond your property. Work in daylight, space fixtures evenly, and test each light after dark before you treat the job as finished.
Mark the ground and check sight lines
Set small flags or stones where each fixture may go. Walk from the house to the gate, bin area, driveway, or porch using the route you use at night. Keep lights beside the route, not in the middle of it. A fixture placed too close to a path can create a bright spot and leave the next step darker.
Stand at the curb, driveway entrance, and property line. Then look back toward each marked location. If a bulb would be visible from these points, move it lower, turn it, or choose a fixture with a better shield. This simple check is easier before stakes and mounts go into the ground.
Install and aim each fixture
- Charge each solar unit in direct sunlight for one or two full days if the maker asks for it.
- Install path stakes in firm soil, avoiding tree roots, buried irrigation lines, and drain pipes.
- Mount wall fixtures at a low useful height and point the light down toward steps or a door mat.
- Angle adjustable solar panels toward the strongest daily sun, without sending reflected light into windows.
- Set motion lights to cover your own walking area, not the street or your neighbor’s driveway.
Use a hand trowel instead of forcing a stake into dry or rocky soil. Hard pressure can crack a plastic stake or bend a solar panel mount. If soil is loose, add a small amount of compacted gravel around the base so the fixture stays straight after rain.
Keep solar units clear of sprinklers and roof runoff. Water may not ruin every outdoor-rated fixture, but constant spray leaves dirt on the panel and can reduce charging. This is also a good time to review rain garden zoning guidance if your lighting plan sits near a drainage area.
Stand at your property line after dark. If you can see the bright bulb itself, lower, shield, or move the fixture before adding more lights.
Which settings reduce light pollution?
Use warm color, low brightness, downward aiming, and short motion sensor times to reduce light pollution. The best setting is the one that lets people walk safely while keeping bulbs hidden and nearby areas mostly dark.
Solar lights often arrive with simple controls, such as steady mode, dim mode, motion mode, or a timer. Start with dim or motion mode instead of full brightness all night. In many cases, a light that stays dim and brightens only for 30 to 60 seconds is enough for a front walk or side gate.
| Lighting concern | Useful setting or tool | Practical rule |
|---|---|---|
| Visible glare | Full shield or hood | Hide the bulb from street and property line views. |
| Bright white color | 2200K to 3000K bulb | Choose warm light near homes, trees, and water. |
| Light all night | Timer or motion sensor | Use a short on-time, often 30 to 60 seconds. |
| Uneven path light | Low path fixtures | Space lights about 6 to 10 feet apart as needed. |
| Neighbor complaints | Phone camera and boundary check | Test from the property line after dark. |
Color temperature is worth checking on the package. Light near 5000K looks cool and blue-white. It can appear sharp and harsh at night, especially when the fixture is exposed. Warm white light near 2700K usually feels softer and can reduce the strong contrast between a lit path and a dark yard.
A timer saves battery power as well. Solar batteries have limited stored energy, especially in winter or after cloudy days. If a light runs at full power all night, it may be dim by morning or stop working before sunrise. Use the light only during the hours when someone is likely to need it.
Fix common solar lighting mistakes before they become complaints
Fix solar lighting problems by checking glare, beam direction, battery charge, and property line spill first. Most issues improve when you lower the fixture, add a shield, clean the panel, or shorten the time the light stays on.
A common mistake is placing a solar spotlight high on a fence, tree, or garage wall. The light may look useful from inside the house, but it can shine outward at eye level. Move the fixture closer to the ground and angle it down. If you need to show a house number, light the number directly instead of washing the whole front wall with light.
When a light shines into a neighbor’s space
Visit the area after dark and stand where the neighbor would stand or sleep. Look from the sidewalk, their driveway side, and any shared fence line. If the light source is visible, treat that as a warning sign. Add a hood, rotate the fixture, or move it farther from the boundary.
Talk early if you think a light may bother someone. A simple message such as, “I am testing new path lights, please tell me if one reaches your window,” can prevent stress later. Do not argue that the light is solar powered or inexpensive. The effect matters more than the power source.
When solar lights fail or flicker
Clean the solar panel with a soft damp cloth. Dust, pollen, bird droppings, and leaf bits can block charging. Check for shade that has changed since installation. A tree may leaf out in spring, or a new fence may block late afternoon sun that the panel once received.
Replace old rechargeable batteries only with the battery type listed by the maker. Do not mix old and new batteries. If several lights fail after a cold season, test one unit in a sunny open spot for two days before replacing the whole set. In everyday use, this check takes about five minutes per fixture.
Large projects need more care. A tall pole, fixed concrete base, or bright security unit may need a permit or plan review. If your project also includes a pump, drainage work, or a new waste system, review related rules such as this septic zoning guide before digging near buried systems.
Check your lights after dark and through the seasons
Check solar lights from several viewing points after dark, then repeat the check during different seasons. A setup is working well when paths are clear, bulbs are hard to see from outside the yard, and the lights still perform after rain, leaf growth, and shorter winter days.
Do a first test on a dry evening. Walk the path at a normal pace and look for dark steps, sharp shadows, and bright points that make you squint. Bring a phone, but do not rely only on the camera image. Phone cameras can make a dim yard look brighter or darker than it feels to your eyes.
Next, move to the property line and public sidewalk. Look toward your home from each direction. Check the road if your driveway meets a busy street. You should see the lit ground, not a row of exposed glowing bulbs. If you can spot the light source from far away, aim for a lower profile.
Review the setup every three months. Summer plants can shade panels. Fall leaves can cover them. Winter snow can block a panel for days, while shorter daylight hours reduce battery charge. A small brush and cloth kept near your garden tools makes regular cleaning easier.
Keep a short note of any changes you make. Write down fixture location, light color, motion time, and the date you adjusted the beam. This record helps if a neighbor asks about a new light or if a local officer needs to understand your setup. Good outdoor lighting does not need to be dramatic. It just needs to help people see safely while leaving the night mostly dark.

Letizia Neri
Founder & Environmental Zoning EditorLetizia Neri, born and based in Roma, Italy, is the founder and lead editor of Eco Zoned. She helps homeowners understand local environmental zoning rules through practical, plain-language advice for planning projects and making informed property decisions.