









A low-maintenance front yard starts with native plants, but paths come first. When walking routes are clear and planting areas have firm borders, the whole space needs less trimming, watering, and guesswork. Start small, watch where feet actually move, and build each zone around daily use.
- Mark walking routes first, then build planting beds around the routes people already use.
- Group native plants by sun, soil, and water needs to reduce extra watering and plant loss.
- Keep mulch, edging, and a clear path edge in place to limit weeds and make monthly care faster.
Table of Contents
- Mark the walking routes before choosing plants
- How wide should front yard paths be?
- Group native plants by real growing conditions
- What native plants need during the first year?
- Build mulch beds that stay neat with less work
- Use rain, sun, and shade to place each yard zone
- Keep the finished front yard easy to manage
Mark the walking routes before choosing plants
Mark the routes people already take across the front yard before buying a single plant. A clear route stops soil compaction in planting beds and shows where paths, stepping stones, and mulch zones should go.
Take five minutes with a hose, string, or garden stakes. Mark the line from the driveway to the front door, from the sidewalk to the mailbox, and from the door to the bin area. Walk each line at your normal pace. Carry a bag, push a stroller, or hold an umbrella if those are common parts of your day.
Here is the catch: the shortest route is not always the route people use. A path that cuts too close to a parked car, a thorny shrub, or a wet downspout area will be ignored. Then feet will cut across mulch and plants. That creates bare dirt, weeds, and a muddy mess after rain.
Make a quick yard map
Use plain paper and draw the front yard as a box. Add the house, street, driveway, front door, trees, utility box, and existing walk. You do not need perfect scale at this stage. The goal is to see which areas need open access and which areas can become stable planting zones.
- Mark full sun areas that get six or more hours of sun.
- Mark shade beside the house, under trees, and near tall fences.
- Circle wet spots where water stays after a storm.
- Leave access to meters, bins, gates, and hose taps.
When we tested this setup in a small front yard, the hose line showed that the old stone path was 18 inches too narrow near the gate. People kept stepping into a flower bed. Widening that small section stopped the damage without removing any plants.
Keep the first version simple. A direct front walk, one short side route, and a clear line to the mailbox are enough for most homes. You can add sitting areas or decorative curves later. For now, a useful path gives the rest of the plan a strong shape.
How wide should front yard paths be?
Most front yard paths should be at least 36 inches wide for one person, while 42 to 48 inches feels better near a front door. Choose the width based on daily use, not only on how the path looks from the street.
A 24-inch path can work between a side gate and a hose tap where one person walks alone. It is usually too tight for the main route to the front door. Shoes brush plants, wheel bins catch on edges, and visitors feel forced to walk in single file. Wider paths also make snow clearing, leaf raking, and sweeping much easier.
Use a firm surface where traffic is frequent. Concrete, brick, natural stone, and compacted gravel can all work. Stone and brick often suit a planted front yard because they break up a large hard surface. Gravel is lower in cost, but it may spread into beds and needs a solid edge to stay tidy.
Match the surface to the job
Put the strongest surface on the busiest route. Save loose materials for low-use paths through a planting bed. A simple mix often works well: a solid front walk, large stepping stones to the bin area, and wood chips only in paths that are not used daily.
| Zone or tool | Best practical use | Simple care habit |
|---|---|---|
| 36 to 48 inch main path | Front door, driveway, mailbox | Sweep leaves every 1 to 2 weeks |
| Stepping stones | Short side route or bin access | Reset loose stones each spring |
| 2 to 3 inch mulch layer | Planting beds around native plants | Top up thin spots once a year |
| Metal or stone edging | Path and bed border | Check edges after winter rain |
| Rain garden dip | Low wet area away from the house | Remove blocked leaves after storms |
Set path edges slightly above nearby soil if water often runs across the yard. This helps rain move into beds instead of pooling on the walk. Keep the path slope gentle and direct water away from the house base. A small change in grade can prevent repeated puddles by the front step.
That said, do not cover the whole yard in paving just to avoid care. Hard surfaces heat up, send water away quickly, and leave less room for roots. A narrow useful path with planted beds on both sides is usually the better balance.
Group native plants by real growing conditions
Group native plants with the same sun, soil, and moisture needs in each bed. This reduces watering, makes plant care easier, and gives every plant a better chance to settle in during its first year.
Start by observing the yard for a few days. Check sunlight at breakfast, midday, and late afternoon. Notice where roof water falls and where the soil dries first. A bed beside a hot driveway can be very different from a bed only ten feet away under a tree.
Use local native species when possible. Native does not mean every plant will grow well in every spot. A plant from a wet meadow may fail in dry sandy soil, while a dry prairie plant may rot in a low area that stays wet. Local plant groups, nature centers, and county extension offices can help identify plants suited to your region.
Build in layers, but keep the view open near paths and driveways. Put taller shrubs and grasses at the back of a bed or near the house wall. Use medium flowers in the middle and low ground covers by the path edge. Our native plant layer plan shows how these plant heights can work in a small yard.
Use simple plant groups
Repeat a small group of plants instead of buying one of everything. Three to five types can look calmer and are easier to manage than fifteen different plants with different needs. Plant in groups of three, five, or seven, depending on bed size. Repeated groups also make gaps easier to spot and fill.
- Choose one taller native grass or shrub for structure.
- Choose two flowering plants for the main color period.
- Choose one low ground cover for the path edge.
- Repeat the same mix in nearby beds where conditions match.
For example, a sunny dry bed may use little bluestem, coneflower, bee balm, and creeping phlox, if they are native in your area. A damp area near a downspout may suit sedges, iris, and moisture-loving flowers native to your region. Check mature width before planting so plants do not lean over the path after two growing seasons.
Leave about 12 to 18 inches between low plants and the path edge. This space gives plants room to grow without making the route feel closed in. It also gives you a clean strip for pulling the few weeds that appear.
What native plants need during the first year?
Native plants need regular checking and deep watering during their first growing season, even when they are known for low water use later. Give new plants time to grow roots before expecting them to handle heat, dry weeks, or heavy rain alone.
Water slowly at the base of new plants. A deep soak once or twice a week is usually better than a quick daily spray, though weather and soil type matter. Sandy soil dries faster and may need more frequent water. Clay soil holds water longer, so check below the surface before watering again.
Put your finger two inches into the soil near the plant. If it feels dry and dusty, water deeply. If it feels cool and moist, wait. This quick test takes less than a minute and prevents both dry stress and overwatering.
Mulch makes the first year much easier. Spread shredded leaves, untreated wood chips, or other natural mulch 2 to 3 inches deep around plants. Keep mulch two inches away from stems and shrub trunks. Piled mulch can trap moisture against the plant and attract pests.
In practice, new plants may look quiet during the first season. Some put most of their energy into roots and show little top growth. Do not replace a plant too fast unless it is clearly dead. Scratch a small spot on a woody stem or check for green growth near the base before deciding.
Watch for weeds every week during the first three months. Pull small weeds after rain, when roots release more easily. Ten minutes of early weeding can save an hour later. Once the planting groups fill in, most beds need far less weeding than bare soil.
Keep a basic note on your phone. Write down what bloomed, what wilted, and where water collected. These notes are more useful than a perfect plant label list because they show what your own yard is doing. They also help when you plan a second bed next year.
Build mulch beds that stay neat with less work
Build planting beds with a clear edge, a thick mulch layer, and enough room for plants to reach their mature size. This simple setup cuts weeds, keeps soil cooler, and gives paths a clean line without weekly trimming.
Remove turf in small sections instead of digging the whole front yard at once. Start with one bed that is easy to reach from the path. A 4-foot-deep bed along a front walk is often wide enough for three plant layers but still easy to weed from either side. If a bed is wider, add stepping stones or a narrow work path.
Sheet mulching can help when lawn grass is thick. Mow the grass short, wet the ground, lay plain brown cardboard with overlaps, then cover it with compost and mulch. Do not use shiny printed cardboard or plastic-coated boxes. Cut holes for plants only after the layers are in place.
Cardboard breaks down over time, so it is not a permanent weed block. It gives plants a head start while grass dies back. You will still need to pull a few weeds, especially around bed edges. Here is the catch: sheet mulching works best when the bed is prepared several weeks before planting.
Choose edging that fits your time
Edging does not need to be fancy. It needs to keep mulch out of the path and stop grass from creeping into the bed. Steel edging gives a sharp line but may cost more. Brick, stone, and a simple spade-cut edge can also work, as long as you check them each season.
Use one edge style across the front yard when possible. A repeated material makes separate zones look connected. If your path uses stone, a low stone edge can make sense. If the yard has a simple modern look, dark metal edging may fit better.
For plant choices by height and spread, use this guide to garden plant layers before you set final bed widths. It is easier to move an edge line now than to cut back crowded plants every summer.
Skip plastic weed fabric under mulch in most planted beds. Soil, leaves, and roots collect on top of it over time. Then weeds grow above the fabric anyway, while planting and digging become harder. Good mulch, close plant spacing, and early hand weeding are usually easier to manage.
Walk your planned route with a laundry basket or trash bin before building it. If it feels tight, add 6 to 12 inches before installing the final path.
Use rain, sun, and shade to place each yard zone
Place each front yard zone where its natural conditions support it, rather than forcing plants to survive in the wrong spot. Use sunny dry areas for drought-tough groups, and use low wet spots for plants that can handle extra water.
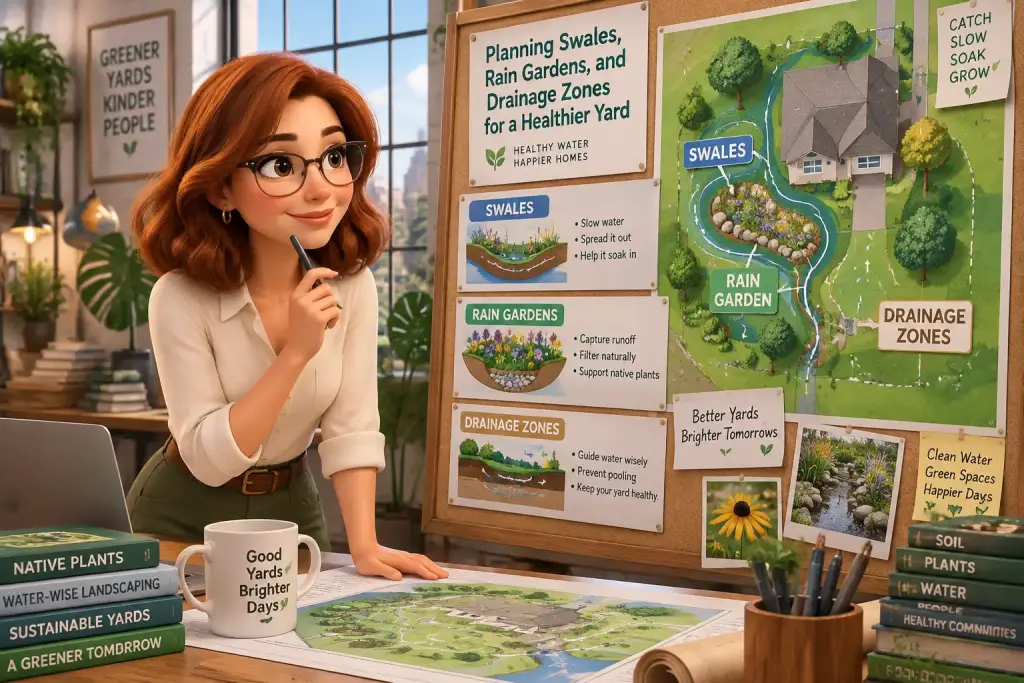
Watch rainwater during one good storm. Look for roof runoff, puddles, and fast-moving water from the driveway. Keep water moving away from the house, but try to slow it in planted areas before it reaches the street. A shallow planted dip can hold a small amount of runoff if it is placed safely away from the foundation.
A rain garden is not a pond. It is a shallow area that holds water for a short time after rain, then drains. Its size and location depend on soil, slope, local rules, and how much water enters the area. If water stays longer than a day or two, get local advice before planting.
Sun changes through the year. A bed that is sunny in spring may become shaded after nearby trees leaf out. Before selecting plants, use a sun and wind zone check to record what happens in different parts of the yard.
Wind matters too. Plants near a street corner or open driveway may dry out faster than plants by a fence. Put tougher grasses and sturdy shrubs in exposed places. Keep delicate flowers in calmer spots near the house or behind a low shrub group.
Do not block important views with tall plants. Keep plants under about 24 inches near driveway corners, sidewalk crossings, and the front steps where people need to see clearly. Taller shrubs belong farther back. This makes the yard safer and reduces the need for repeated hard pruning.
Once you set this up, your front yard starts doing more of the work. Plants receive the conditions they prefer, rain has a planned place to go, and paths stay drier. That is the point of zoning, not making a complicated plan with too many separate areas.
Keep the finished front yard easy to manage
Keep a low-maintenance front yard working with short monthly checks instead of big weekend cleanups. Spend ten to twenty minutes on path edges, weeds, mulch, and plant crowding before small problems become hard jobs.
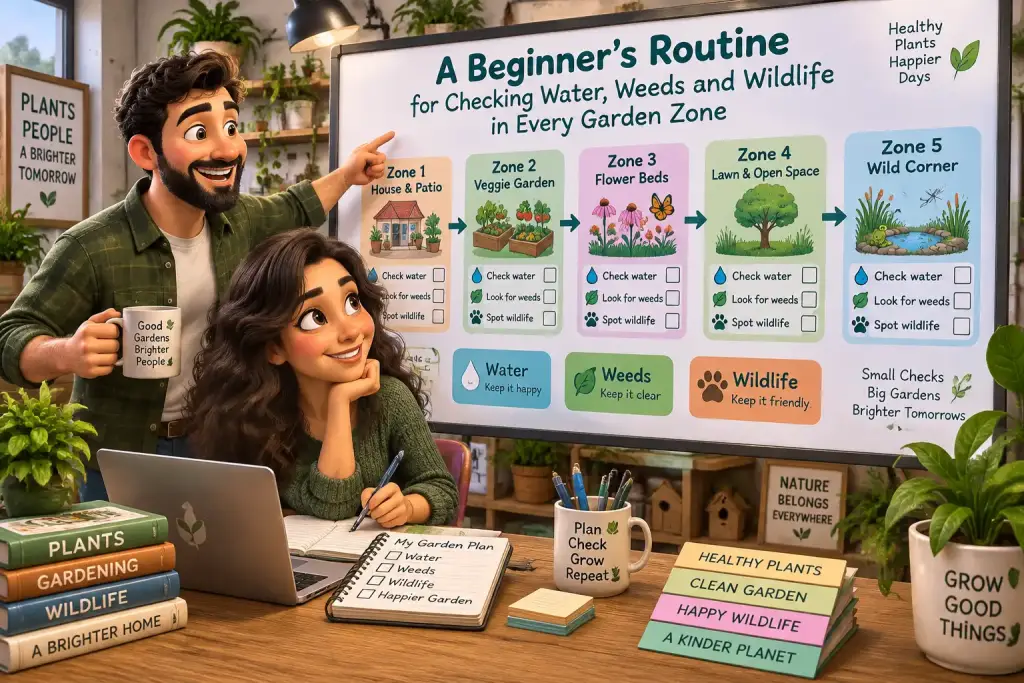
Walk the yard once a month with a simple checklist. Look at the path first. Remove leaves that could become slippery, sweep gravel back into place, and check for raised stones. Then look at the bed edges, where grass and weeds often appear first.
In everyday use, this step takes about five minutes for a small front yard. Pull any weeds before they set seed. Add mulch only where soil is showing. Do not pile fresh mulch over an already thick layer, because too much mulch can keep roots too wet and reduce air in the soil.
Leave some seed heads and dry stems through winter when safe to do so. They can provide food and cover for birds and insects, and they add shape when flowers are gone. Cut back dead stems in late winter or early spring, before new growth becomes tall. Keep the cut stems on site as loose mulch if they are not diseased.
Prune shrubs for size only when needed. Constant shearing creates extra work and can remove flowers. Choose shrubs that fit the space at maturity, then use light trimming to remove broken, crossing, or path-blocking branches. This is much easier than trying to keep an oversized shrub small forever.
Review the yard after each season. Did one path stay muddy? Did a plant block the mailbox? Did a sunny bed need water too often? Move one or two plants, widen one edge, or change a mulch type. Small fixes keep the whole front yard useful.
The best front yard zone is not the one with the most plants. It is the one you can walk through easily, care for without stress, and enjoy from the street and front door. Clear paths and well-placed native plants make that possible year after year.

Matteo Mariani
Founder & Lead Landscape EditorBorn and based in Italy, Matteo Mariani is the founder and lead editor of Eco Zoned. He helps readers make thoughtful outdoor planning choices with practical advice on lower-impact gardens, functional spaces, and landscape zones for everyday homes.