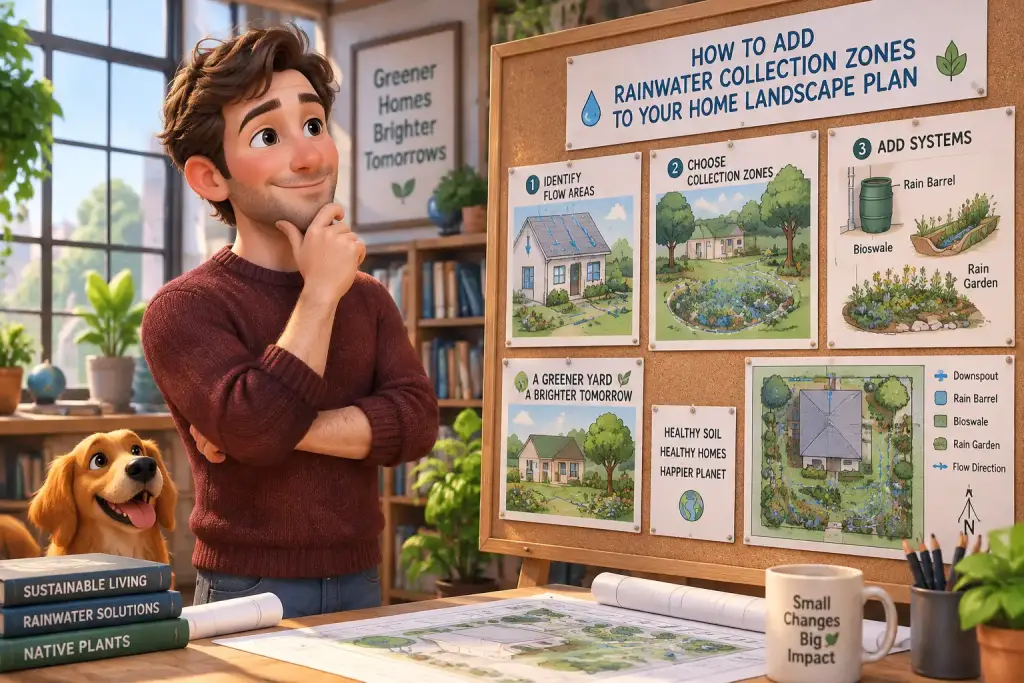









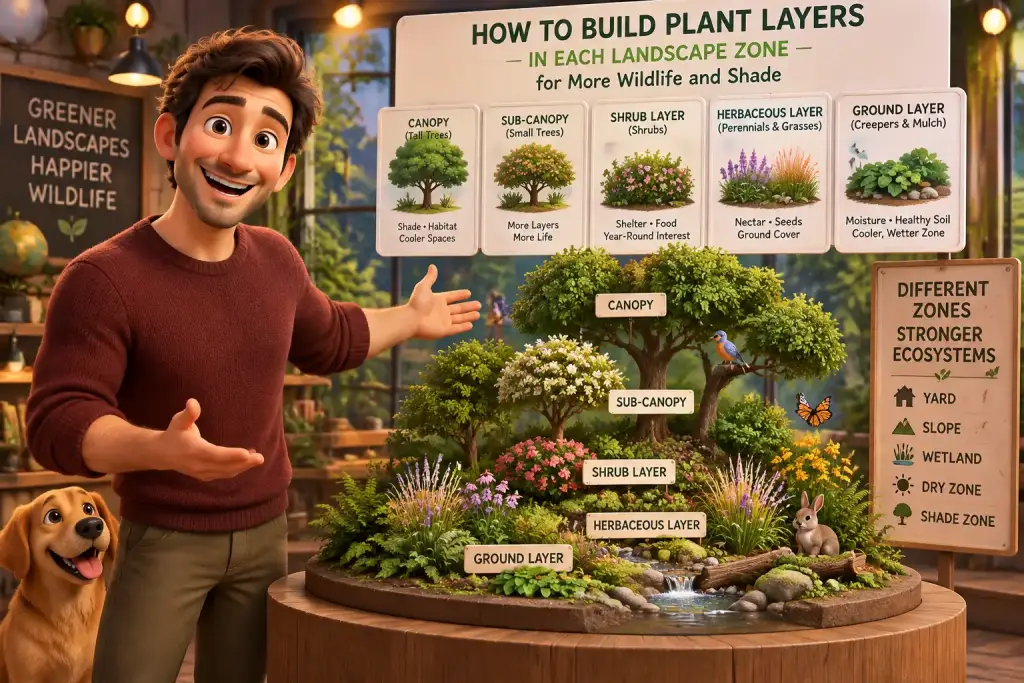
Strong plant layers make a home growing area cooler, quieter, and more useful for birds, bees, and small animals. The basic plan is simple: place taller plants behind or above shorter ones, then give every zone enough room, water, and light to grow without crowding.
- Put tall trees, small trees, shrubs, ground plants, and leaf cover in separate height groups for better shade and wildlife shelter.
- Match each plant group to the sun, soil, wind, and water level already present in that zone.
- Leave open paths and clear views near doors while building thicker cover farther from daily walking areas.
Table of Contents
Map sun, soil, and use before buying plants
Start by dividing your yard into small working zones based on sun, soil moisture, wind, and daily foot traffic. This step stops you from putting a shade tree where vegetables need full sun, or placing thirsty shrubs in a dry corner.
Walk outside at three times on a clear day: morning, midday, and late afternoon. Make a rough sketch of the house, paths, fences, patios, existing trees, and utility lines. Mark each area as full sun, part sun, bright shade, or deep shade. A phone photo taken from the same spot at each time can help you compare changes.
Soil matters as much as light. Dig a hole about 8 inches deep in each zone and feel the soil after rain. Clay soil stays wet longer and can hold water around roots. Sandy soil dries fast and often needs leaf mulch or compost. If water stands in the hole after a day, choose plants that can handle damp ground or improve drainage before planting.
Give each zone a simple job
A zone works best when it has one main purpose. The area near a patio may need summer shade and clear walking space. A back fence line may be better for bird cover and wind protection. A side yard may suit rain soak-in plants, low shrubs, and a narrow path.
- Entry zone: low plants, clear views, and safe paths.
- Living zone: shade trees, seating, and plants with soft leaf cover.
- Food zone: edible plants with easy water access and good sun.
- Wildlife zone: dense shrubs, flowers, fallen leaves, and water.
- Utility zone: tough plants that handle heat, wind, and less care.
Instead of guessing, use your sketch to see which places can support each height level. Our guide to sun and wind zones can help you make this first map more useful. Keep your notes simple. A few clear marks are better than a detailed plan you never use.
What plant layers belong in each home zone?
Most home zones need three to five plant heights: tall trees, small trees or large shrubs, medium shrubs, ground plants, and leaf cover. Use fewer layers in tight entry spaces, then use fuller layers in back corners where wildlife needs shelter.
The top layer is usually a canopy tree. It gives the largest shade area and can cool walls, patios, and soil below. Choose a tree only after checking its adult width, root space, and distance from buildings. A young tree can look small at planting time, but its branches may spread 20 to 40 feet later.
Below the canopy, place small trees or large shrubs. These fill open space without blocking all light. Serviceberry, redbud, native holly, and dogwood are common examples in suitable regions. Your best choice depends on local weather, soil, and native plant lists. A local nursery guide or county garden office can help you choose plants that fit your area.
Build from high to low
Medium shrubs form the next layer. They give birds a place to hide from cats and hawks, while flowers and berries can provide food. Ground plants then cover bare soil. These may include sedges, ferns, low native flowers, creeping plants, or mulch-friendly plants that do not need weekly cutting.
- Choose one tall plant for shade or wind cover.
- Add two or three shrubs that grow below it.
- Fill open soil with low plants in groups of three to seven.
- Cover bare soil with leaves, wood chips, or living ground plants.
- Leave a clear edge for paths, doors, and tool access.
Food areas can also use this method. A fruit tree, berry shrubs, herbs, and low edible plants can share one sunny space when each has enough room. See our guide to edible plant layers for a useful way to mix food growing with shade and soil cover.
Build the first layered bed in clear steps
Build one small layered bed before changing the whole yard. A 10 by 10 foot bed is enough to test plant spacing, water needs, and shade patterns without creating a large job.
Mark the bed edge with a hose, string, or garden paint. Stand at the main viewing point, such as a window, path, or patio chair. Put the tallest plant where it will not block a needed view. Keep trees away from overhead wires, pipes, foundations, and roof edges. Check the plant tag for its adult size, not its size in the pot.
Set plants before digging
Place all pots on the soil first. Step back and look at the group from two or three angles. Move plants until the taller forms sit behind the shorter ones from your main view. Avoid straight lines. Small groups and gentle curves often look more natural and give wildlife better cover.
Space plants for their mature width. If a shrub will grow 5 feet wide, leave close to 5 feet between its center and the next large plant. Crowding looks full for one year, then causes weak growth, poor air flow, and extra cutting. Here is why that matters: a dense bed should offer cover, not force plants to fight for light and water.
| Layer or task | Simple guide | Useful tool or check |
|---|---|---|
| Canopy tree | Place 15 to 30 feet from walls, based on adult size | Plant tag and measuring tape |
| Small tree or shrub | Set behind lower plants, with room for full width | String line and plant labels |
| Ground plants | Plant in groups of 3 to 7 with few bare gaps | Hand trowel and mulch |
| Leaf cover | Use a 2 to 3 inch layer, kept away from stems | Rake and wood chips |
| Water check | Water deeply when the top 2 inches feel dry | Finger test or soil probe |
Dig each hole two to three times wider than the root ball, but no deeper. The top of the root ball should sit level with the nearby soil. Water after planting, then add 2 to 3 inches of mulch. Keep mulch about 3 inches away from stems and trunks so moisture does not cause rot.
How do plant layers bring more wildlife and shade?
Plant layers bring more wildlife and shade by giving animals food, nesting spots, cover, and cooler ground at several heights. A mix of tree cover, shrubs, flowers, and leaf litter works better than one flat lawn or a single row of plants.
Birds often use different heights during the same day. Some feed in trees, some rest in shrubs, and some search leaf litter for insects. Bees and butterflies need flowers at lower levels, while frogs and small helpful insects need damp, protected places near the soil. A layered area gives these living things more choices within a small space.
Shade also works in layers. A tree canopy blocks strong summer sun. Shrubs reduce hot wind and sun bounce from walls or fences. Ground plants keep soil cooler and slow water loss. On the flip side, too much dense shade can stop flowering plants and food crops from growing well. Put sun-loving plants on the south or west side of a bed only if your local sun path supports it.
When we tested this setup in a warm side yard, the biggest change was not the tree itself. The low plants and mulch kept the soil damp longer after watering. The area also had more small birds once the shrubs formed a solid middle layer. That middle layer is often missing in yards that have lawn below and tall trees above.
Add food, water, and safe cover
Choose plants that flower, fruit, or hold seeds at different times of year. Spring flowers help early bees. Summer blooms feed pollinators. Fall berries and seed heads support birds. Leave some dry stems through winter when safe, because insects may rest or lay eggs inside them.
A shallow water dish can help, but change the water often and place it near cover, not in the middle of an open area. Keep it out of reach of pets when possible. Avoid broad pesticide sprays. They can harm the insects that birds, frogs, and pollinators need for food.
Fix thin, crowded, or dry layers before they fail
Fix plant layer problems by checking light, spacing, water, and mulch before adding more plants. Most weak beds are not missing plants. They have plants in the wrong place, too close together, or growing in soil that dries out too fast.
A thin bed often has one tall tree and bare ground below. Add a medium shrub layer first, then fill gaps with low plants. Do not rush to fill every inch. Young plants need room to spread. Use mulch in open spots while the bed grows, then reduce mulch as ground plants cover the soil.
Crowded beds show different signs. Leaves may turn pale, branches may stretch toward light, and shrubs may grow only at their outer edges. Remove damaged plants first. Then choose one or two plants to move, rather than cutting every plant back hard. Moving a young shrub in cool, damp weather is often easier than trying to force it into a bad space for years.
Use this quick problem check
- Plants wilt every afternoon: add mulch, water deeply, and check for root crowding.
- Ground stays bare: use shade plants or reduce heavy shade with careful pruning.
- Tree leaves look weak: keep grass and mulch away from the trunk base.
- Few birds visit: add dense shrubs and leave some leaf cover under them.
- Path feels blocked: cut back only the plants that enter the walking line.
Lawn edges can also make a layered bed harder to care for. Grass pushes into open soil, and frequent mowing can blow clippings onto new plants. Better mowing and mulching habits help keep edges clean while returning useful plant matter to the yard. A clear edge, about 4 to 6 inches wide, can make routine care much easier.
In everyday use, this check takes about five minutes each week. Look for dry soil, chewed leaves, blocked paths, and plants leaning into each other. Small fixes are easier than a full rebuild.
As a rule of thumb, build plant layers in one 10 by 10 foot area first, then watch its sun, water, and wildlife use for one full season before copying the plan elsewhere.
Check each season for shade, wildlife, and healthy growth
Check your plant layers in spring, summer, fall, and winter because shade, water, and wildlife use change through the year. Take photos from the same places each season so you can see gaps, crowding, and growth that are hard to notice day by day.
Spring is the time to watch where new leaves create shade. You may find that a sunny patch becomes part shade once trees leaf out. Summer is the best time to check heat and water. Sit outside during the hottest part of the day and notice where shade falls. If a patio still gets strong late sun, a small tree or tall shrub may help more than adding another low flower bed.
Fall shows how much leaf cover your bed can use. Rake leaves off paths and gutters, then place a light layer under shrubs and trees. Do not pile wet leaves against trunks. Winter is useful for seeing the bare structure of your planting. You can spot branches that cross, shrubs that block paths, and open areas that need a new plant next spring.
Keep a simple record with four notes: what flowered, what needed water, what wildlife you saw, and what felt too crowded. The takeaway here: success is not a perfectly full bed at all times. A good layered zone has healthy plants, clear access, cooler soil, and enough cover for wildlife without turning daily care into hard work.
Build slowly, watch closely, and repeat what works. One healthy layered corner can become a useful plan for the rest of your home zones.

Matteo Mariani
Founder & Lead Landscape EditorBorn and based in Italy, Matteo Mariani is the founder and lead editor of Eco Zoned. He helps readers make thoughtful outdoor planning choices with practical advice on lower-impact gardens, functional spaces, and landscape zones for everyday homes.