








A clear zoning plan helps a small yard use less water, make less waste, and feel easier to care for. Instead of placing plants where there is empty space, you give every area one job, such as food growing, rain soaking, wildlife cover, sitting, or storage.
- Watch sun, shade, wind, water flow, and foot traffic for at least seven days before drawing your plan.
- Put high-use areas near the door, thirsty plants near water access, and low-water plants in hotter outer edges.
- Test the plan weekly after planting, then move mulch, containers, or plants when one zone is not working.
Table of Contents
Measure the yard before you draw a zoning plan
Start your zoning plan by measuring the yard, marking fixed features, and watching how you already use the space. A simple sketch with real sizes stops you from building beds or paths that make a small yard feel crowded.
Use graph paper, a notebook, or a free drawing app. Measure the length and width of the whole area first. Then add the house wall, doors, fences, sheds, drains, taps, trees, paving, and any fixed raised beds. One square on paper can stand for 0.5 metre or 1 metre. Pick one scale and keep it the same.
Walk outside at three times during the day. Check the space at about 9 am, 1 pm, and 5 pm. Put notes on the sketch for full sun, part shade, deep shade, windy spots, and warm walls. A wall facing the afternoon sun can hold heat long after the day cools, while a narrow side area may stay wet and dark.
Record the parts you cannot change
Fixed items shape the whole plan. A tap, drain, large tree, or neighbour-facing fence should guide your choices. For example, a compost bin works best in a shaded corner with a clear path from the kitchen. A small herb bed works better near the back door than at the far end of the yard.
- Measure gates and paths before choosing wheelbarrows or bins.
- Mark overhead shade from trees, roofs, and clothes lines.
- Circle areas where rainwater pools after a heavy shower.
- Note places where pets, children, or visitors usually walk.
- Leave at least 60 centimetres for a simple working path.
When we tested this setup in a narrow back yard, the first sketch showed that a planned 90 centimetre path was too wide. Reducing it to 60 centimetres gave enough room to walk while saving space for two extra pollinator plants. Small measurements make a real difference in a small yard.
Take photos from the same corner before you change anything. They help you remember where shade falls and how water moves. They also give you a useful before-and-after record when the garden starts filling in.
How do you map sun, water, and movement?
Map sun, water, and movement by observing the yard for one full week and adding each result to your sketch. This shows where plants can grow well, where rain can soak in, and where paths need to stay clear.
Sun is not the only factor. Check how rain falls from roof edges and where it runs after hitting paving. Water often moves toward low points, compact soil, or blocked drains. Mark those spots with blue pencil. You may later use a shallow rain garden, gravel strip, or planted area to slow runoff.
Keep daily movement simple. Draw a line from the back door to the bin, seating area, washing line, tap, and gate. These are desire paths, meaning routes people choose without thinking. If you plant directly over them, feet will compact soil and damage plants. Build paths where people already need to go.
Make a seven-day site check
A short check each day gives better results than one quick look. In everyday use, this step takes about five minutes. Use a phone note or print a small chart. Write down sun, wind, puddles, and any route you walked more than once.
- Check the yard in the morning and mark sunny areas.
- Check again in the middle of the day for hot walls and glare.
- Look at late-day shade, especially near fences and trees.
- Watch the ground after rain or after watering for ten minutes.
- Mark busy walking lines with a different colour.
Wind deserves a note too. Strong wind dries containers fast and can bend tall plants. A slatted screen, dense shrub, or small trellis can slow wind without making a damp, still corner. For a more careful site check, use our guide to sun and shade zones before buying plants.
Here is the catch: one sunny day does not prove that an area gets full sun. Trees leaf out, nearby buildings cast longer shadows, and seasons change. Your plan should leave room to move a pot or swap a plant after you see the yard through different weather.
Build your eco-friendly zones in the right order
Build an eco-friendly zoning plan by placing access and water features first, then adding growing beds, wildlife cover, and rest areas. This order keeps high-use jobs close to the house and avoids digging up finished areas later.
Start with the route you use most. A direct path from the door to the tap, compost bin, and main growing bed saves time every week. Use reclaimed pavers, bark chips, gravel, or permeable blocks where suitable. Avoid covering the whole yard with solid paving because rainwater needs places to soak into soil.
Put the food zone near the kitchen if you grow herbs, salad leaves, or tomatoes. You are more likely to pick food when the bed is only a few steps away. Keep a rain barrel close to a downpipe if local rules and your roof setup allow it. A watering can filled from stored rainwater can cover a small bed without using a hose.
Give every zone one main job
Small yards work best when each area has a clear main purpose. A zone can still do two jobs, such as a flowering border that feeds pollinators and hides a fence. The main job simply helps you choose plants and materials without filling every corner with random items.
| Zone | Main job | Simple tool or setting |
|---|---|---|
| Door-side food bed | Easy herbs and salad | 30 cm deep soil, watering can nearby |
| Rain soak area | Slow roof runoff | Shallow dip, mulch, moisture-loving plants |
| Hot dry edge | Low-water planting | Gravel mulch, drought-tolerant native plants |
| Wildlife corner | Cover and flowers | Log pile, native flowers, shallow water dish |
| Work path | Keep soil clear | 60 cm wide bark or permeable paving |
Use edges with care. A fence line is useful for climbers, but do not pack it tightly with tall plants. Leave enough air flow to lower mildew risk. A narrow strip can hold a trellis, a few climbing beans, and ground-cover plants while still leaving access for fence repairs.
That said, do not try to fit every possible zone into a tiny yard. A 20 square metre space may only need a path, one food bed, one mixed border, and a small sitting spot. Empty space has value too. It gives plants room to grow and gives you room to work.
Which plants and materials fit each zone?
Choose plants and materials by matching them to the sun, soil, water, and use of each zone. Native plants, mulch, compost, and permeable surfaces usually lower water use and support more insects than bare soil or solid paving.
Check soil before you plant. Squeeze a moist handful. If it forms a hard ball and stays sticky, it may have a lot of clay. If it falls apart at once, it may be sandy. Both can improve with compost, but do not add a thick layer all at once. Spread 2 to 5 centimetres of finished compost across beds each year and let worms help carry it down.
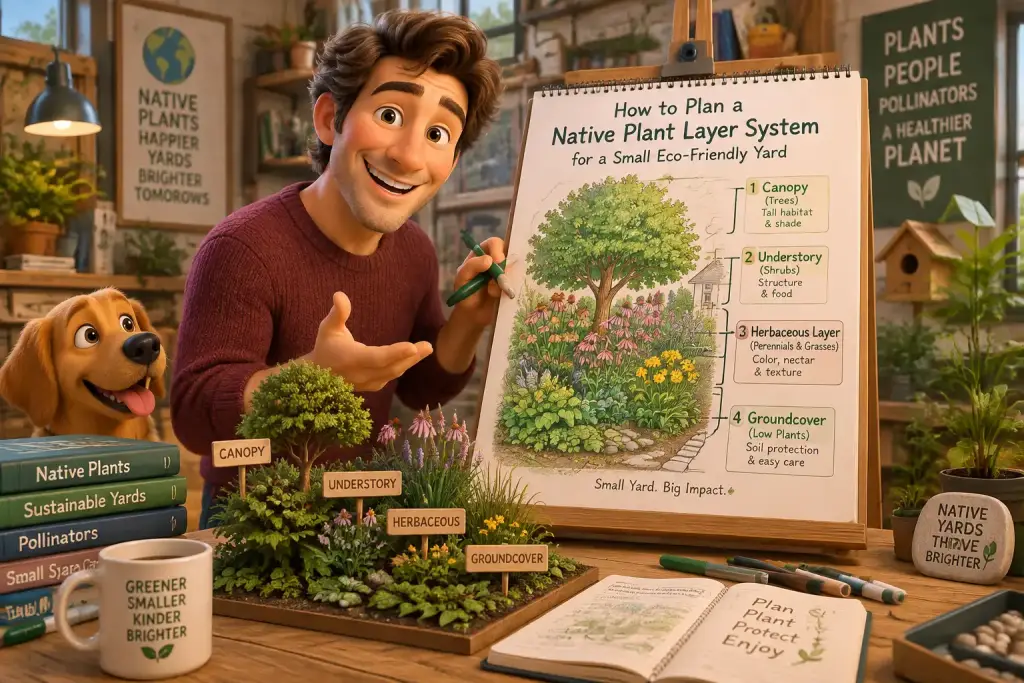
Choose a mix of plant heights. Low ground-cover plants shade bare soil. Medium plants fill the middle layer. Taller plants or climbers use vertical space. This is useful in small yards because you gain plant cover without making every bed wider. Our guide to edible plant layers shows how herbs, greens, shrubs, and climbers can share one growing area.
Match plant needs before buying
Read plant labels for mature width, not only height. A plant that grows 80 centimetres wide should not go into a 30 centimetre gap beside a path. Leave space for air and for your hands when you need to weed, harvest, or add mulch.
- Use shade-tolerant ferns, native woodland plants, or leafy greens in cool shade.
- Use herbs and compact food crops in sunny beds near the kitchen.
- Use deep-rooted native plants where rainwater gathers.
- Use low-water plants in hot spots beside walls or paving.
- Use flowering plants with different bloom times for pollinators.
Mulch is one of the simplest water-saving materials. Use shredded leaves, wood chips, or compost around plants, leaving a small gap around stems. A 5 centimetre layer can reduce surface drying and slow weed growth. Do not pile mulch against wood walls, tree trunks, or plant stems because trapped moisture can cause rot.
For most people, containers are helpful but should not become the whole plan. Pots dry faster than garden beds, especially in sun and wind. Use them for plants you may need to move, such as tender herbs, small fruit trees, or test plants. Group containers near each other so one watering session takes less time.
Mark a simple 1 metre grid with string before planting. It helps you check bed size, path width, and plant spacing without costly mistakes.
Fix small-yard zoning plan problems before planting
Fix access, drainage, crowding, and shade problems on paper before planting starts. Moving a line on a sketch takes seconds, while moving a full bed, path, or young tree can take hours and cost money.
One common slip-up is making beds too wide. A bed should usually be no more than 1.2 metres wide if you can reach it from both sides. If it sits against a fence, keep it closer to 60 centimetres wide unless there is another access point. Reaching over soil causes compaction and makes weeding harder.
Another problem is placing thirsty plants in the hottest place because it looks open and bright. Tomatoes may enjoy sun, but they still need steady water and good soil. Keep a water source close, use mulch, and group plants with similar water needs. Do not put dry-climate plants beside moisture-loving plants in the same small bed.
Check these trouble spots
Walk through your sketch as if you are carrying a watering can, a bag of compost, or a tray of seedlings. Can you turn at the gate? Can you reach the tap? Can you stand beside a bed without stepping on soil? This quick test reveals problems before the work begins.
Watch for these simple fixes:
- Move a compost bin closer if you avoid using it because it is too far away.
- Replace a hard paving strip with gravel or mulch where rain pools.
- Use vertical supports when a bed has no room for wide plants.
- Shift seating away from the wettest or windiest corner.
- Keep tree roots clear instead of digging deep beside mature trees.
Do not buy every plant in one trip. Plant the main structure first, then wait two to four weeks. You will see which spots feel too bare, too hot, or too busy. This pause also helps you use fewer plants and reduces waste from poor matches.
If runoff from a roof is causing regular flooding, check local rules before changing drains or directing water. A small planted soak area can help with light rain, but serious drainage issues may need advice from a local water or building office. Safety comes first around foundations, electric cables, and gas lines.
How do you check that the plan works each week?
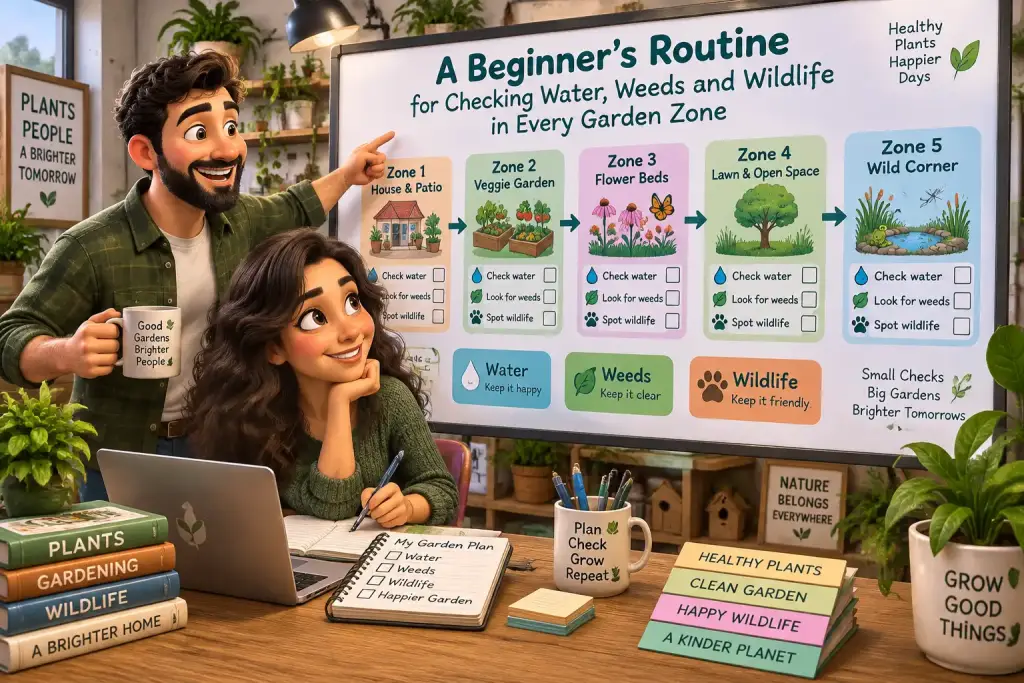
Check your zoning plan once a week by looking at soil moisture, plant health, paths, weeds, and wildlife activity. A five-minute routine helps you spot poor drainage, dry pots, blocked routes, and crowded plants before they become bigger jobs.
Walk the same loop each time. Start at the door, follow the main path, inspect food plants, look at the rain soak area, and finish at the compost bin or storage spot. Carry a small notebook or use a phone note. Write short facts, such as “mint pot dry,” “path muddy,” or “bees using flowers.”
Push one finger 3 to 5 centimetres into the soil before watering. If soil feels cool and damp, wait. If it feels dry and crumbly, water slowly at the base of plants. This simple check avoids watering by habit. It also helps roots grow deeper because you water when plants need it, not every day.
Use results to improve each zone
A good plan changes with real use. If the same path stays muddy, add more permeable material or change the route slightly. If a sunny bed turns shady after tree growth, move sun-loving plants into containers or another zone. If you rarely visit a far corner, give it a lower-care job with native plants and mulch.
Check for signs of healthy use, not only neatness. Earthworms in soil, insects on flowers, birds using cover, and leaves breaking down under mulch are useful signs. A few holes in leaves are normal when you make room for wildlife. Avoid using broad chemical sprays because they can harm helpful insects as well as pests.
Use a simple monthly review. Compare current photos with your first pictures. Ask three questions: Is water soaking in? Can I reach every area? Are plants growing in the right conditions? Our weekly zone checks can help you build this habit without turning garden care into a long task.
Once you set this up, the yard becomes easier to manage season after season. Your first plan does not need to be perfect. It only needs clear zones, useful paths, healthy soil, and enough space for both plants and people.

Matteo Mariani
Founder & Lead Landscape EditorBorn and based in Italy, Matteo Mariani is the founder and lead editor of Eco Zoned. He helps readers make thoughtful outdoor planning choices with practical advice on lower-impact gardens, functional spaces, and landscape zones for everyday homes.