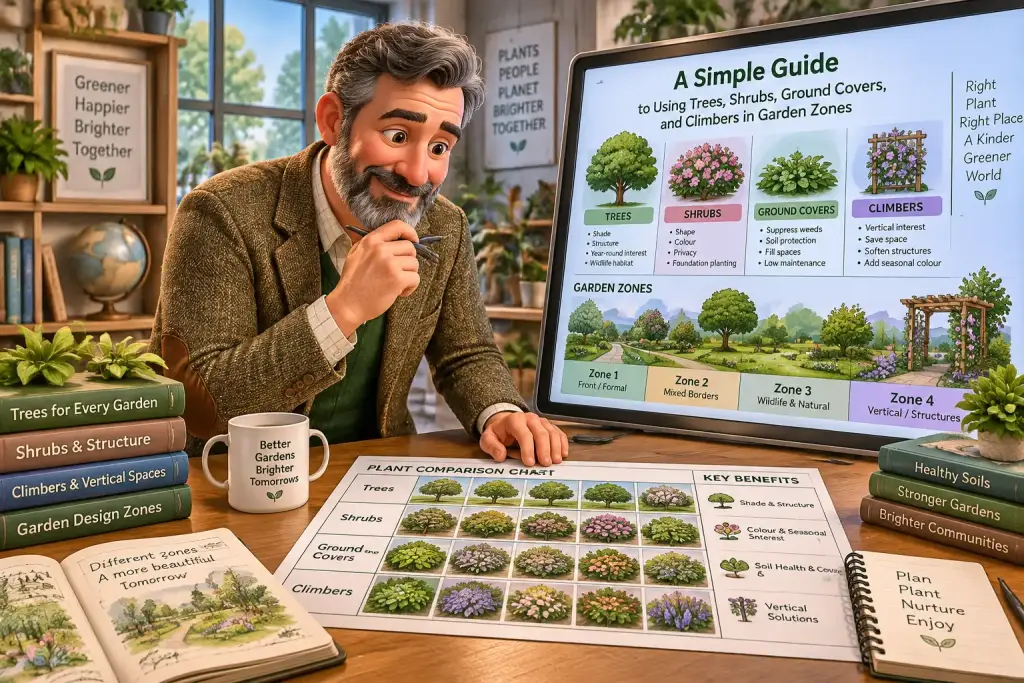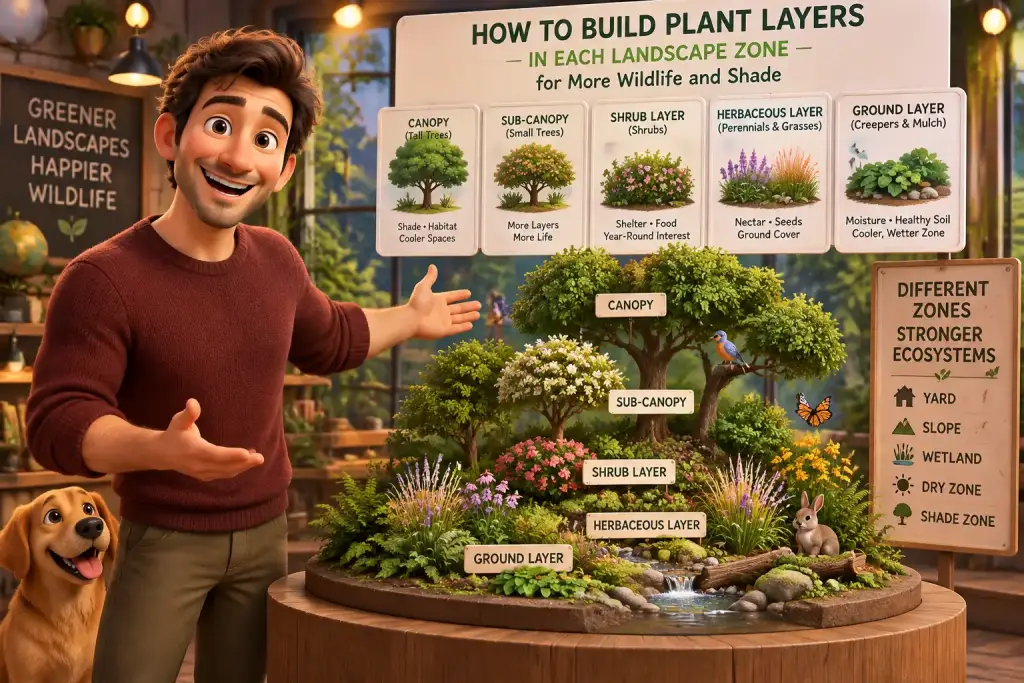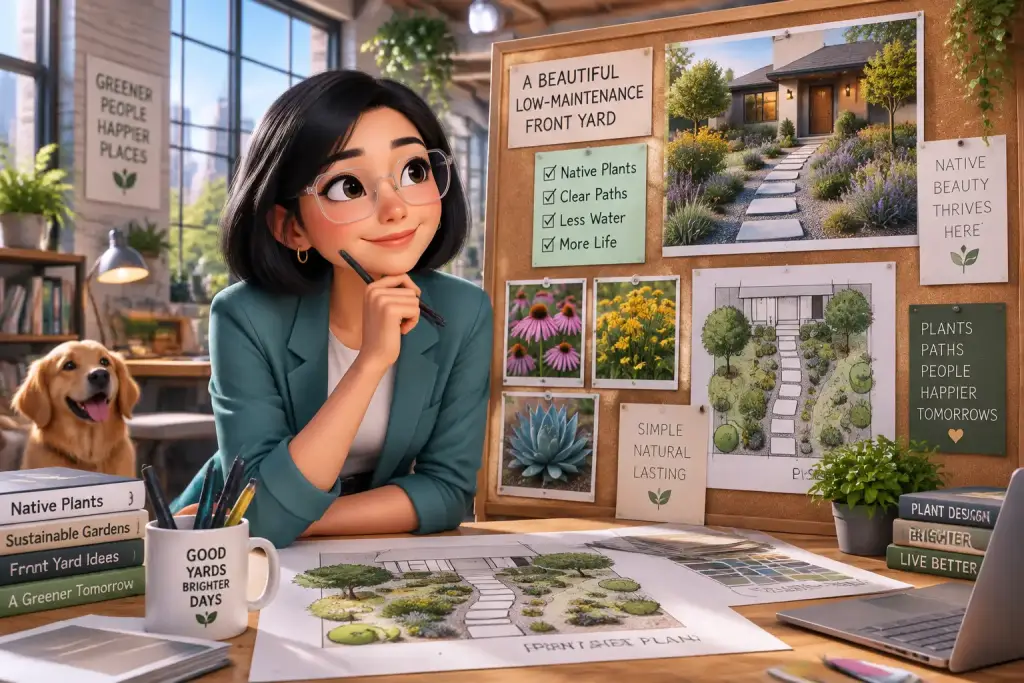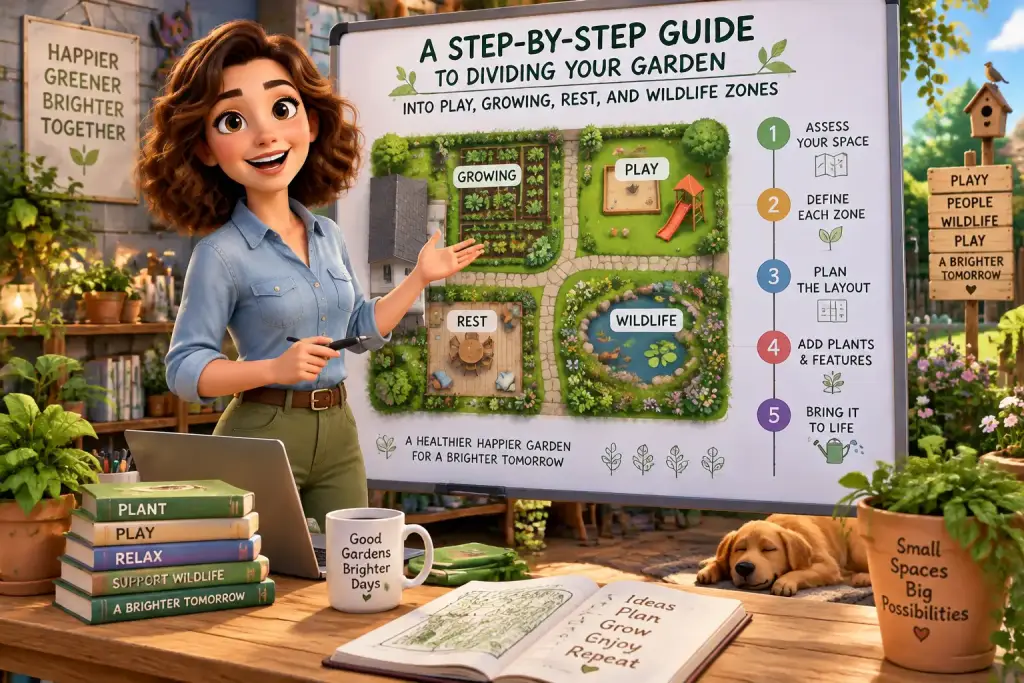









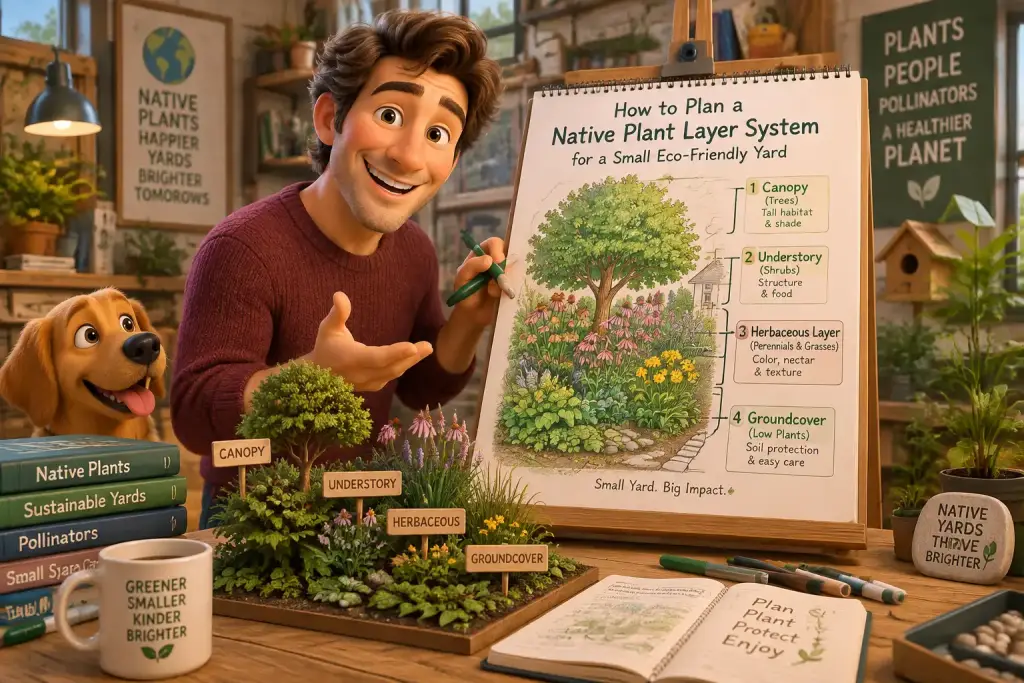
A small yard can still hold a rich living planting space when you plan native plant layers with care. Instead of filling every open spot with the same plant, use height, shade, soil, and water needs to build a yard that looks full, supports wildlife, and stays easier to care for over time.
- Map sun, soil moisture, and rain flow before choosing any native plants.
- Use tall plants at the back, medium plants in the middle, and low groundcover near paths.
- Check water, weeds, and wildlife once a week during the first growing season.
Table of Contents
- Set a clear base for native plant layers
- How do you map sun, soil, and water zones?
- Build the planting shape from tall plants to groundcover
- Choose plants that fit your local wildlife and space
- How should you plant and water each layer?
- Fix common small-yard planting problems early
- Check your layers through the seasons
Set a clear base for native plant layers
Start native plant layers by measuring the yard, watching the sun, and checking where rain collects. These three checks help you place plants where they can grow well without needing extra water, heavy feeding, or frequent moving.
Look at it this way: your yard already has different small zones. One spot may bake in afternoon sun. Another may stay damp after rain. A fence line may block wind, while the space near a patio may feel warmer because of stone or brick. Your planting plan should work with these real conditions, not fight them.
Begin with a simple paper sketch. Draw the house, paths, fence, trees, shed, and any outdoor seating area. Add rough measurements in feet or meters. You do not need perfect building plans. For a small yard, even a hand-drawn map can guide good choices if it shows the main shapes and open spaces.
Then watch the yard on two dry days. Mark which areas get full sun, part sun, or shade. Full sun usually means six or more hours of direct light. Part sun means about four to six hours. Shade may still be bright, but it gets less direct sun. Take photos from the same place at breakfast, noon, and late afternoon. They can help when you start placing plants later.
Check rain flow too. During the next shower, notice where water runs from the roof, path, or slope. A low spot that stays wet may suit moisture-loving plants. A dry strip beside a wall may need tough plants with deep roots. Do not plant a moisture-loving species in dry soil just because you like its flowers. That choice often creates extra work for years.
When we tested this setup in a narrow back yard, the sun map changed the whole plan. A bright corner that looked ideal for flowers turned out to get only three hours of morning light. Moving those sun plants just six feet away helped them bloom better with no extra care.
How do you map sun, soil, and water zones?
Map sun, soil, and water zones by marking light levels, testing soil feel, and noting rain flow on one yard sketch. Use simple labels such as dry sun, normal sun, dry shade, and damp shade so each plant has a clear home.
Soil does not need a hard science test before you begin, though a local soil test can help if plants have struggled there before. Start with a hand test after light rain. Pick up a small amount of soil and squeeze it. Sandy soil falls apart quickly. Clay soil feels smooth and holds its shape. Loam feels crumbly and holds some moisture without becoming sticky.
Write notes directly on your sketch. For example, you might label the area by a downspout “damp after rain” and the strip beside the driveway “hot and dry.” These notes are more useful than a long plant wish list. They tell you what can grow with less help.
Make four simple yard labels
Most small yards can be planned with four basic zone labels. You may have only two or three of them, and that is completely fine. A smaller plan is often easier to care for and looks more calm.
- Dry sun: Six or more sun hours, fast-draining soil, and hot surfaces nearby.
- Normal sun: Good light, average soil, and regular rain reach.
- Dry shade: Shade under trees, near walls, or where tree roots take moisture.
- Damp shade: Lower ground, roof runoff areas, or spots that stay moist longer.
Keep your plan close to the size of your free time. A 10 by 12 foot bed can hold a full set of plant layers without becoming hard to weed. Start with one bed if this is your first native planting project. You can repeat the same plan in another part of the yard after you see what works.
Day to day, this map also helps with watering. Instead of turning on a sprinkler for the whole yard, you can water only the new plants in the dry sun zone. That saves water and keeps shade plants from sitting in soil that is too wet.
Build the planting shape from tall plants to groundcover
Build the planting shape by placing the tallest plants first, then adding medium plants, small flowering plants, and groundcover. This order keeps every plant visible, leaves room for roots, and gives your small yard a natural full look.
A layered planting is not about making a wall of plants. It is about giving each plant enough room to catch light and air. In a small yard, put taller plants toward a fence, wall, or back edge. Use medium plants in front of them. Keep the lowest plants beside paths, seating areas, or the front of a bed.
Step 1: Choose one tall anchor plant
Pick one small native tree, large shrub, or tall group of grasses only if your space can hold it. Check the mature width, not just the pot size at the garden center. A shrub that grows six feet wide can crowd a four-foot bed very quickly. In a very small yard, a clump of tall flowers may work better than a woody shrub.
Place the anchor plant where it will not block a path, window, or gate. Leave space for the plant to grow for at least three years. If the tag says four feet wide, give it close to four feet. Tight planting can look good in spring, then turn into pruning work by year two.
Step 2: Fill the middle with useful flowers and grasses
Add medium plants around the anchor. These are often 18 to 36 inches tall and carry much of the color, seed, and cover for insects and birds. Group three to five plants of the same kind together. Small groups look clearer than single plants spread all around the bed.
- Place tall plants first and step back to check the view.
- Add medium plants in groups, leaving their mature width between centers.
- Set low plants near the edge to soften bare soil.
- Leave small open gaps for mulch and future growth.
Groundcover plants come last. They protect soil from heat, slow weeds, and help rain soak in. Use low native plants that spread at a steady pace, not plants that take over the whole bed. A groundcover should fill gaps over time, not bury your other plants.
For a small bed, aim for about 70 percent planted space and 30 percent open mulch when you finish. It may look slightly bare at first. That is normal. Plants need room to grow, and crowded beds often dry out faster and catch more plant disease.
Choose plants that fit your local wildlife and space
Choose plants that are native to your local area, match your zone labels, and fit their mature size. A good small-yard mix has flowers for pollinators, leaves for insect life, seed for birds, and cover near the soil.
Native does not mean every plant is right for every yard. A plant can be native in your wider region but still need wetter soil, more sun, or more room than you have. Check plant labels from a trusted native plant nursery, local garden group, or regional plant guide. Ask about mature height, spread, bloom time, and root depth.
Try to include plants that flower at different times. Early flowers help insects after winter. Summer flowers bring steady color and food. Seed heads in fall can feed birds, while dry stems give small insects a place to rest through cold months. You do not need a huge plant list. Four to seven well-matched species can make a strong first layer system.
A simple mix might include one tall grass or shrub, two medium flowering plants, one spring flower, one late-summer flower, and one low groundcover. Keep the numbers easy. For example, in a 10 by 12 foot bed, you might use one anchor plant, six medium plants, eight small flowering plants, and ten to twelve groundcover plants.
Leave some stems standing through winter if they are not blocking a path. They can hold seed and shelter small insects. Cut them back in early spring, just before new growth becomes thick. This small habit makes the yard feel alive in every season.
Plant choices can also support food growing without turning the whole yard into a vegetable bed. If you want to mix both uses, our guide to edible plant layers shows how to place food plants without shading or crowding the native bed.
Watch your yard at breakfast, noon, and late afternoon for two clear days. A simple sun map can prevent most wrong-plant problems.
How should you plant and water each layer?
Plant each layer in cool weather or during a mild part of the day, then water the root zone slowly and deeply. New native plants need steady care for their first growing season, even when the mature plants will handle normal local weather.
Set pots on top of the soil before digging. This lets you check spacing, height, and color from the path or patio. Move pots around until the view feels balanced. It is much easier to shift a pot than a plant with roots already in the ground.
| Planting task | Simple setting | Useful tool |
|---|---|---|
| Check spacing | Use mature plant width | Measuring tape |
| Dig planting hole | Same depth as root ball | Hand trowel or spade |
| Water new plants | Slow soak, 10 to 15 minutes | Hose wand or watering can |
| Add mulch | 2 to 3 inches deep | Rake and bucket |
| Check weeds | Once each week | Gloves and hand fork |
Plant without burying the crown
Dig a hole about twice as wide as the root ball, but no deeper. The top of the root ball should sit level with the soil around it. If you bury the crown, which is where stems meet roots, the plant may rot or grow poorly. Break up circling roots gently if they are tight in the pot.
Fill the hole with the same soil you removed. Avoid adding rich compost only inside the hole because roots may stay in that soft pocket instead of spreading outward. You can spread a thin layer of finished compost over the bed later. Our simple compost habits guide can help you use home compost without overdoing it.
Water slowly after planting until the soil is wet around the roots. During dry weeks, check new plants every few days. Push a finger two inches into the soil. If it feels dry there, water near the base. A two to three inch mulch layer helps hold moisture, but keep mulch about two inches away from stems.
Fix common small-yard planting problems early
Fix planting problems early by checking light, moisture, spacing, and mulch before replacing plants. Most weak growth comes from a wrong spot, too much water, packed soil, or plants placed too close together.
If a sun plant leans hard toward the light or gives few flowers, it may need more direct sun. Move it in the cool season if possible, when the plant is less stressed. If a shade plant has dry brown edges, check for heat from a wall or driveway. Shade is not always cool or moist.
Weeds are most easy to remove when they are small. Walk the bed once a week for five minutes and pull weeds before they seed. Do not try to clear every leaf from the soil. A few fallen leaves can protect soil and feed small life below ground. Remove thick wet piles only when they smother low plants.
Use this quick problem check
- Yellow leaves: Check for wet soil or poor drainage before adding plant food.
- Wilted leaves: Check soil two inches down. Wilting can come from too much or too little water.
- Plants falling over: Give them more room or use lower plants near exposed paths.
- Bare mulch areas: Add a few more groundcover plants, not thick mulch alone.
- Few insects: Keep some blooms and stems in place, and avoid broad bug sprays.
Do not rush to add fertilizer when plants look weak. Native plants often grow best in ordinary local soil. Too much plant food can cause soft leafy growth that flops over or draws pests. A plant in the right place usually needs less help than a plant in rich soil but the wrong light.
Watch out for mulch piled against stems. This is a common problem in tidy-looking beds. Thick mulch against a stem can hold too much moisture and invite rot. Pull it back so you can see the base of each plant. Small changes like this take minutes and can save a plant.
Check your layers through the seasons
Check your plant layers once a week during the first season, then once or twice a month after plants settle in. Look for soil moisture, weeds, plant spread, flowers, and signs of wildlife so you can make small fixes before a problem grows.
In everyday use, this step takes about five minutes for a small bed. Walk slowly around the edge. Look for dry soil, chewed leaves, weeds with flowers, or stems that are crowding a path. A short check is better than waiting until the bed looks messy and needs a full afternoon of work.
Keep a simple note on your phone or a paper calendar. Write down the first bloom, the first seed heads, dry weeks, and plants that seem crowded. By the second year, these notes show which plants belong in that spot. They also help you avoid buying the same wrong plant again.
Spring is a good time to remove broken stems and add a light compost top layer if your soil needs it. Summer is for watering new plants, pulling weeds, and watching bloom times. Fall is useful for adding new plants because cooler weather can help roots settle. Winter is a chance to study the bed shape, bird activity, and places that need more groundcover.
Use a steady check list instead of guessing. Our weekly garden zone routine gives a simple pattern for watching water, weeds, and wildlife without making yard care feel like a big job.
After one full year, review the plan with honest eyes. Keep plants that grow well. Move plants that are only surviving. Add more of the species that bring bees, birds, and healthy growth. A good native plant layer system does not need to be perfect on planting day. It gets better as you notice what your yard is already trying to tell you.

Matteo Mariani
Founder & Lead Landscape EditorBorn and based in Italy, Matteo Mariani is the founder and lead editor of Eco Zoned. He helps readers make thoughtful outdoor planning choices with practical advice on lower-impact gardens, functional spaces, and landscape zones for everyday homes.