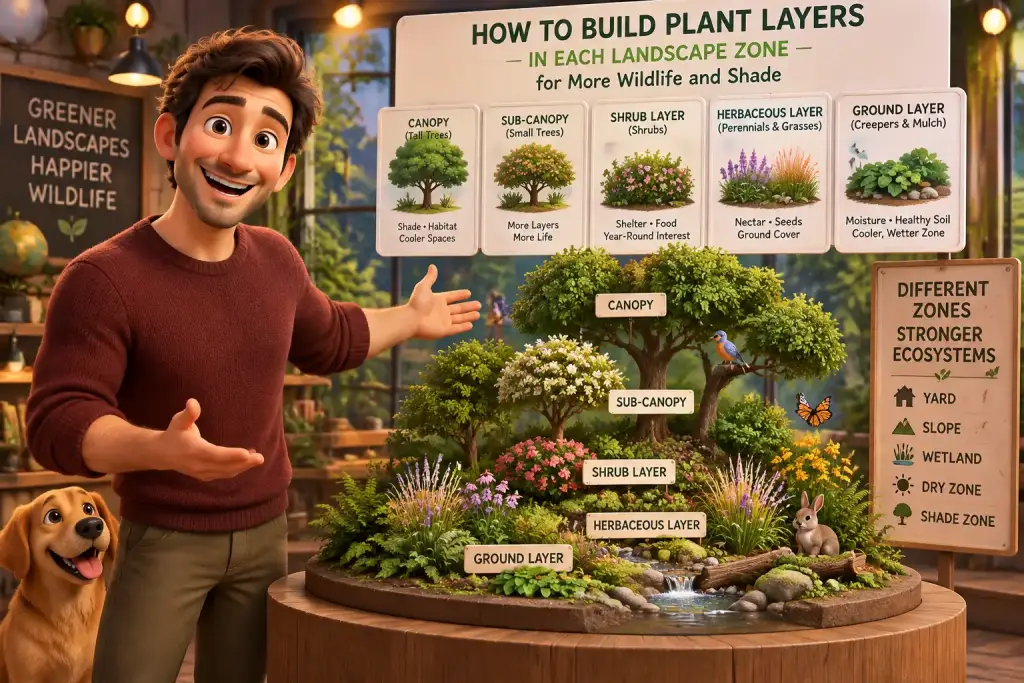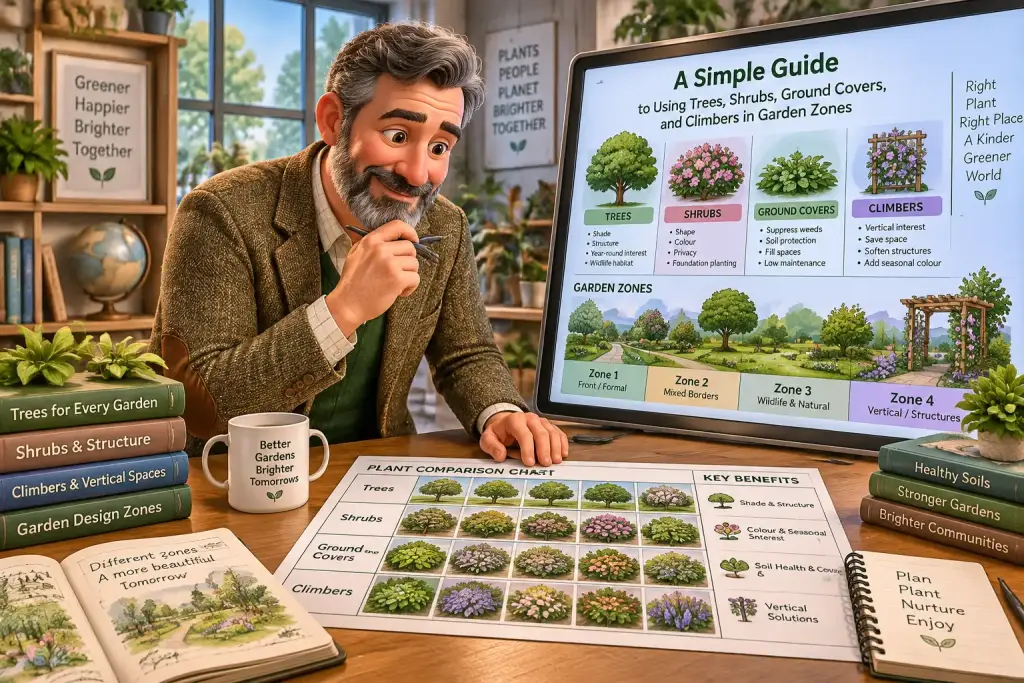








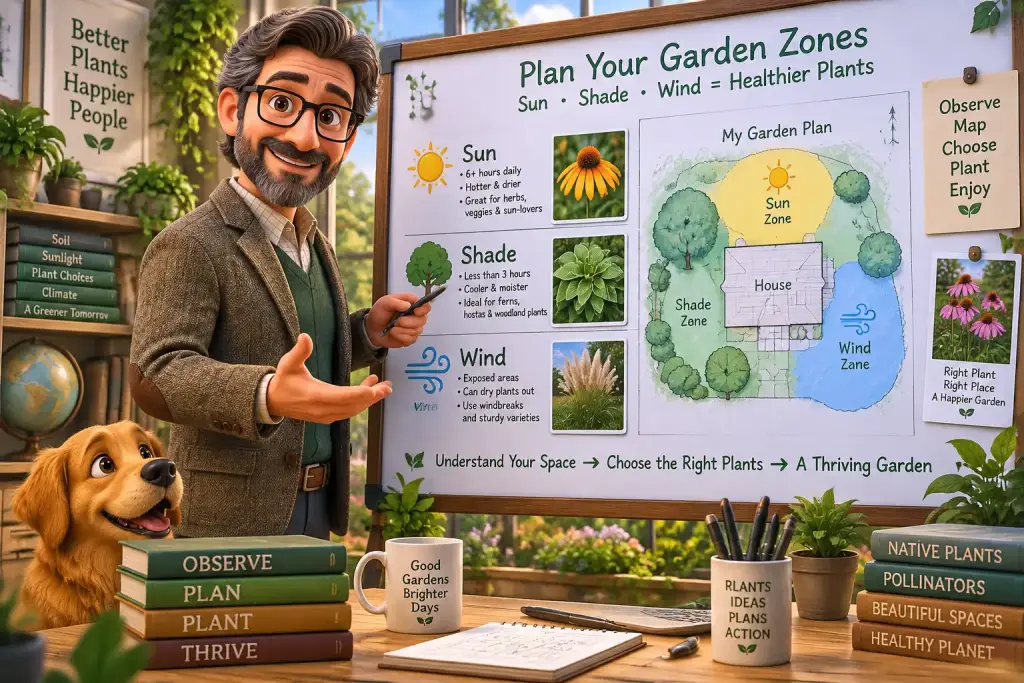
Choosing plants gets much easier when you map your garden zones first. A sunny corner can become shady by late afternoon, while a pretty bed near a fence may get hit by dry wind every day. Take a little time to watch your yard before you buy plants, and you will waste less water, lose fewer plants, and make better use of each space.
- Watch each part of your yard at three times each day before labeling it full sun, part shade, or full shade.
- Mark strong wind paths, warm walls, fences, and wet spots on one simple yard map before buying plants.
- Check your map again in a new season because tree leaves, low winter sun, and wind direction can change each zone.
Table of Contents
Start with a simple yard map
Make one clear yard map before you study plants. A rough drawing that shows your home, fences, trees, paths, and large pots gives every sun, shade, and wind note a proper place.
You do not need special drawing skills. Grab graph paper, a pencil, a ruler, and a phone camera. Stand at one end of the yard and sketch the main shapes first. Mark the house walls, shed, driveway, deck, mature trees, tall hedges, and any place where water often sits after rain.
Look at it this way: your map is a simple plan for daily life outside. It does not need to look perfect. It only needs to help you remember what happens in each part of the yard. A small square on the map can stand for 1 foot or 1 meter, depending on your space. Keep the scale easy enough that you can add notes quickly.
Mark fixed features first
Fixed features create the basic shape of your planting areas. South-facing walls often get more direct sun in the Northern Hemisphere. North-facing walls usually stay cooler and shadier. Tall fences can block wind, but they can also make a still, dry patch close to the fence line.
Add these items to your map before you begin daily checks:
- House walls, doors, windows, and roof edges
- Large trees, shrubs, hedges, and climbing plants
- Fences, sheds, garages, decks, and raised beds
- Paths, lawn areas, rain barrels, and water taps
- Low spots where puddles remain after rain
Use arrows to show north. Your phone compass can help if you do not have a paper compass. This one small mark will help you understand why one bed gets hot afternoon light while another gets gentle morning light.
When we tested this setup in a small home yard, the first map took about 15 minutes. It showed that a bed we thought was sunny was blocked by a neighbor’s maple tree after lunch. That note saved us from putting heat-loving plants in the wrong place.
How do you measure sun in garden zones?
Measure sun by checking the same spots several times in one day. Count direct sunlight, not bright sky light, and write down when each area changes from sun to shade.
The short answer is simple: plants care about hours of direct sun. A spot can look bright because light bounces off a wall or path, but it may still have little direct sunlight. Most plant labels use these basic groups: full sun means about 6 or more hours, part sun or part shade means about 3 to 6 hours, and full shade means less than 3 hours.
Use three daily check times
Pick a clear day and inspect your yard in the morning, around midday, and late afternoon. For a more exact result, check every two hours from 8 a.m. to 6 p.m. Put a dot or short line on your paper map where direct sun lands at each check.
- Check early morning sun, usually between 8 a.m. and 10 a.m.
- Check the strongest midday sun, usually between 12 p.m. and 2 p.m.
- Check late sun, usually between 4 p.m. and 6 p.m.
- Write the time beside each note, especially where shade moves fast.
Morning sun is often softer and cooler. Afternoon sun is usually hotter, especially near pale walls, paving, or gravel. A plant that handles six hours of soft morning light may still struggle with four hours of hot late-day light. Write “hot afternoon sun” on the map instead of only writing “sun.”
Cloudy weather can make this job harder. Wait for a mostly clear day if possible. If the weather stays cloudy, use several days of short checks and compare the results. Day to day, this step takes about five minutes once your map is ready.
Do not forget moving shade. A tree canopy, porch roof, tall fence, or nearby building can change the amount of sun as the season moves forward. Bare branches in early spring may let in more light than the same tree does in summer. This is why one day of notes is useful, but one week of notes is better.
Mark shade types, not just shady spots
Label the kind of shade in each area because not all shade feels the same. Dry shade under trees, damp shade near a wall, and light shade under open branches need different plant choices.
Shade is more than a lack of sun. It also changes soil moisture, air movement, and ground temperature. A bed under an evergreen tree may stay dark most of the year and have thirsty roots below it. A bed beside a north wall may be cool and damp, especially if rain reaches it.
Watch for four useful shade patterns
Write one of these notes beside each shady part of your map. The extra detail will help you choose plants with less guesswork later.
- Light shade: Sun comes through open leaves for part of the day.
- Moving shade: Sun and shade change as leaves and branches move.
- Dry shade: The ground stays dry, often under trees or roof edges.
- Damp shade: The soil stays moist longer, often near walls or low ground.
Check soil moisture with your finger or a small hand trowel. Push 2 to 3 inches into the soil. If it feels dry and loose below the top layer, mark it dry. If it feels cool and sticks lightly together, mark it moist. Do this after normal weather, not right after heavy rain.
Root space matters too. Large tree roots can take water and food from smaller plants. You may see roots close to the surface, or find that a trowel will not go into the soil easily. In that case, avoid digging deep or cutting big roots. Use shallow-rooted plants, leaf mulch, or containers placed where they will not harm the tree.
Good soil helps every zone, but it cannot turn deep dry shade into full sun. Add compost where it makes sense, then choose plants that fit the conditions. Our guide to healthy planting zones can help you build better soil without treating every bed the same way.
Keep a small paper map near your door for seven days. Add sun, shade, wind, and wet soil notes each time you pass the garden.
How can you test wind before planting?
Test wind by watching where it enters, speeds up, and drops through your yard. Note the usual direction, strong gusts, and calm corners before you place tall, weak, or dry-soil plants.
Wind can dry soil faster than sun alone. It can also bend stems, tear leaves, knock over pots, and make winter cold feel harder for plants. A yard may have one exposed side and one calm area only a few steps away. Your map should show both.
Start with a simple ribbon test. Tie bright fabric strips to bamboo canes, fence corners, or temporary sticks. Use strips about 12 inches long. Watch them on a normal day and again on a windy day. The direction and movement will tell you more than one quick look from the back door.
Find wind tunnels and calm pockets
Wind often speeds up between the house and a fence, through a gate, beside a garage, or along a long straight path. These are wind tunnels. Mark them with arrows on your map. Also mark calm pockets behind a solid fence, dense hedge, shed, or wide shrub.
A solid fence can block wind close behind it, but wind may roll over the top and land farther away. A hedge or slatted screen often slows wind across a wider area. You do not need to build anything right away. First, watch what the wind already does in your space.
Use these signs when you check a possible windy zone:
- Soil dries much faster than nearby beds.
- Leaves point or bend in one direction.
- Light pots fall over after a storm.
- Snow, dry leaves, or mulch collect in one strip.
- Young stems lean away from a fence gap or gate.
Wind changes with the season. Winter wind may be stronger after leaves fall from trees. Summer wind may slow down when hedges and trees are full. Keep a note of both patterns if you plan to grow plants that stay outside all year.
Do not use a windbreak as a reason to ignore drainage. A sheltered area can still stay wet after rain. If your map shows puddles or water flowing toward beds, read our practical notes on yard drainage zones before changing the ground level.
Build garden zones before buying plants
Group areas with similar sun, shade, wind, and soil moisture into simple garden zones. Give each zone a short name so plant labels and shopping choices match the real conditions in your yard.
Keep the names plain. “Hot wall bed,” “morning sun border,” “dry tree shade,” and “windy gate pots” are better than long codes you will forget. You can use colored pencils on your map, or make a short list in your phone. The goal is to match plants to real places, not to make a fancy chart.
| Zone note | What to check | Simple planning move |
|---|---|---|
| Full sun, 6+ hours | Morning and afternoon heat | Choose plants that handle dry soil and summer heat |
| Part shade, 3 to 6 hours | Time of direct sun | Use plants that prefer softer light or morning sun |
| Dry shade under trees | Surface roots and soil moisture | Use mulch and pick plants that handle root competition |
| Windy open edge | Gust direction and fast-drying soil | Use strong stems, wider spacing, and heavy pots |
| Damp low spot | Puddles after rain | Choose moisture-loving plants or improve water flow |
Try to make zones large enough to be useful. A 2-foot strip beside a hot wall may be one zone. A large backyard may have five or six zones. You do not need twenty tiny zones unless your yard truly has that much change. Too many labels can make planning feel harder than it is.
From there, make a plant wish list for each zone. Read the plant tag for light needs, water needs, mature width, and height. Then compare those details with your map. A plant that needs full sun and regular water may not belong in a dry bed under a tree, even if it looks good in a photo.
Leave space for access. You need room to water new plants, add mulch, pull weeds, and reach the back of each bed. A path or stepping stones can stop soil from getting packed down. This small choice also makes daily care feel less like work.
Fix common planning slip-ups early
Fix map errors before planting by checking light, wind, and soil notes twice. Most failed planting plans come from using one quick guess instead of several simple observations across the yard.
A common slip-up is calling a bright place “full sun.” Bright shade can still be shade. Another is checking the yard only at noon, when the sun is highest. A bed may look sunny at noon but spend the rest of the day in shade from the house or a tall tree.
People also forget that surfaces change heat. Dark paving, brick walls, and gravel can hold warmth after sunset. White walls can bounce light onto nearby plants. This can help plants that like warmth, but it can dry the soil faster and stress plants with soft leaves.
Use quick fixes instead of starting over
You do not have to throw away your whole plan when you spot a problem. Change the plant location, add a simple support, or adjust the soil surface. Small moves often make a big difference.
Try these fixes when a zone does not work as expected:
- Move sun-loving plants to the side with longer direct light.
- Add a 2 to 3 inch layer of leaf mulch to slow soil drying.
- Place heavy pots or pot feet in windy areas.
- Use a low screen, shrub row, or open fence panel to slow wind.
- Group plants with similar water needs in the same bed.
- Keep thirsty plants closer to the water tap when possible.
A second common mistake is planting too close together. Small plants look far apart at first, but they grow. Crowded plants block air movement and make it harder to check soil or remove damaged leaves. Follow the mature width on the label, then allow a little extra room in places that stay damp.
Do not treat every season like summer. A sunny bed in July may be much cooler in spring or fall. The lower winter sun can reach areas that are fully shaded during summer. Make room on your map for notes such as “winter sun only” or “summer tree shade.”
Check your zones through daily seasons
Check your garden zones again during different seasons and after unusual weather. A useful zone map changes when tree cover, sun height, rain patterns, and wind direction change in your yard.
The best plan is a living plan. Keep your first map, but add dates beside new notes. You might write “June, hot after 3 p.m.” or “January, strong wind at gate.” These short notes become very useful when you are choosing plants, moving pots, or planning a new bed next year.
Walk the yard after heavy rain, strong wind, and a hot dry week. Those are the moments when the yard tells you what it needs. Check if mulch moved, if water pooled, if a pot fell, or if one bed dried much faster than the others. Take a few phone photos from the same spot each time.
Use a simple seasonal check
Set four reminders each year, one for each season. Spend 10 to 20 minutes checking your map and making small updates. This is enough for most home gardens, and it keeps plant choices based on real conditions instead of memory.
Your seasonal notes can include:
- Where the first spring sun reaches the ground
- When tree leaves create deeper summer shade
- Which beds dry quickly during hot weather
- Where fall rain collects near paths or walls
- Which areas get cold wind after leaves fall
Use the results before you buy anything new. If a plant struggled, ask what the zone was like before blaming the plant. Was it short on sun? Did tree roots take the water? Did wind dry it out? One honest answer can guide a better choice next time.
A simple seasonal record also makes garden care easier for the whole household. Our seasonal zone checklist can help you turn those notes into small jobs that fit each time of year.
Give yourself time to watch before you plant. A well-marked yard map is not exciting in the same way as a cart full of flowers, but it leads to stronger plants and fewer regrets. Start with sun, shade, wind, and soil moisture, then let each garden zone tell you what belongs there.

Matteo Mariani
Founder & Lead Landscape EditorBorn and based in Italy, Matteo Mariani is the founder and lead editor of Eco Zoned. He helps readers make thoughtful outdoor planning choices with practical advice on lower-impact gardens, functional spaces, and landscape zones for everyday homes.