








Edible plant layers can turn one home growing zone into a steady source of fruit, leaves, herbs, roots, and flowers. The best results come from planning light, soil, water, and walking space before plants go in. A small, well-set-up area is often easier to care for than a large bed packed with plants.
- Start with sun, water flow, and walking routes before choosing fruit trees, shrubs, herbs, or ground covers.
- Leave enough space for each mature plant, especially around trees and berry shrubs where roots spread widely.
- Check the zone each week for dry soil, crowded stems, pest damage, and small harvests that show what needs changing.
Table of Contents
- Set up edible plant layers before buying plants
- How do you map sun, soil, and foot paths?
- Build the plant stack from the ground up
- Which plants fit each edible layer?
- Plant, mulch, and water without wasting space
- Fix crowding, poor growth, and pest problems early
- Check your harvest zone through daily use
Set up edible plant layers before buying plants
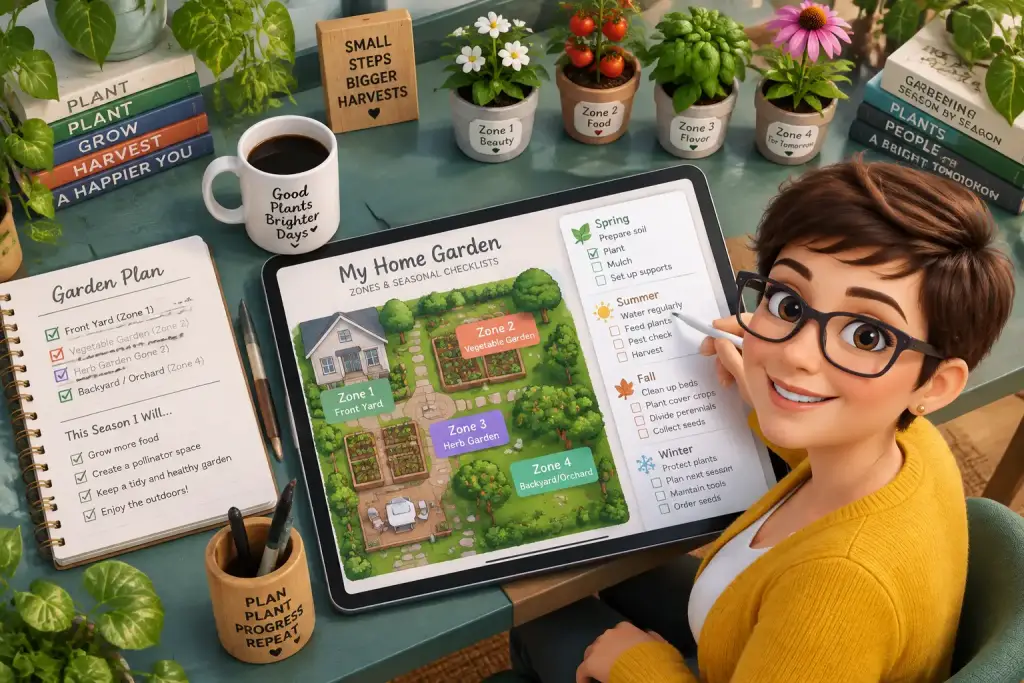
Start edible plant layers by choosing one growing zone with clear sun, safe soil, and easy access to water. Mark its edges, watch the sun for a day, and decide where you will walk before buying a single plant. This simple start prevents most spacing and care problems later.
Pick a spot you pass often. A growing zone near a back door, patio, or main path gets more care because you see it every day. That matters more than having a large space at the far end of the yard. You are more likely to pick ripe leaves, notice dry soil, and remove weeds when the plants are close.
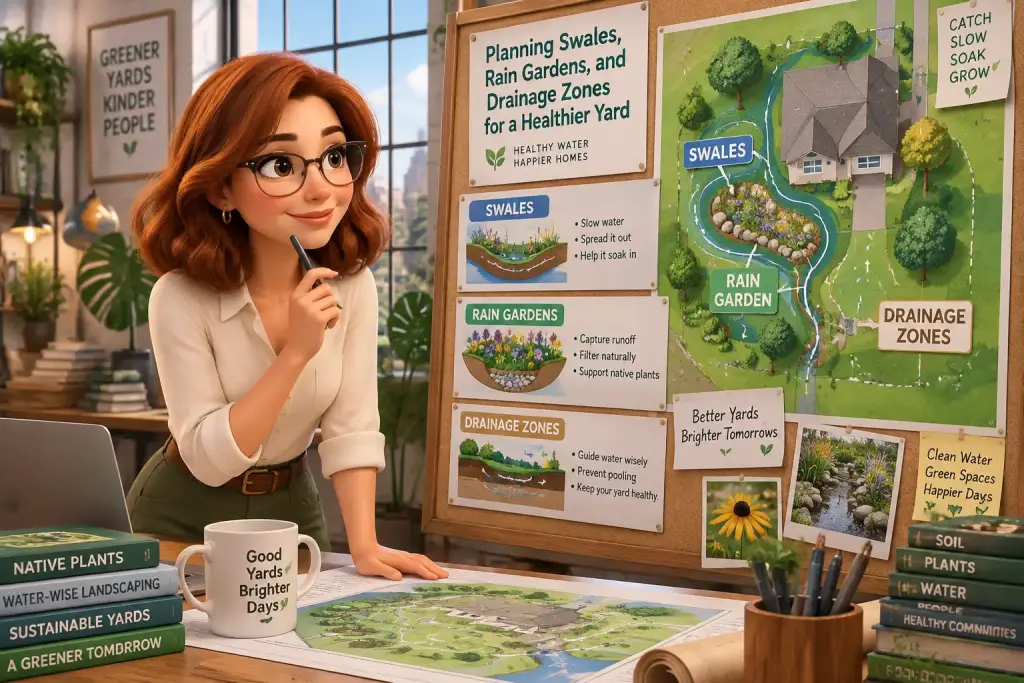
Measure the area with a tape measure, then draw a rough plan on paper. Add fixed items first, such as fences, walls, drains, sheds, and existing trees. Mark where water collects after rain. A low wet patch may suit mint in a pot or water-loving plants, while a dry patch near a wall may suit thyme, sage, or strawberry plants with mulch.
Think of the zone as a stack of plants using different heights. The tall tree layer can give fruit and light shade. Below it, berry shrubs, herbs, leafy plants, root crops, ground covers, and climbing plants can share the same space. Here is the catch: sharing space does not mean packing plants tightly. Each plant still needs room for roots, air, and light.
Set a simple goal for the first year. A good goal might be one small fruit tree, two berry shrubs, four herbs, a patch of greens, and a low ground cover. This gives you several harvest types without creating too much work. Once you set this up, you can add more plants after seeing how the sun and water act through the seasons.
How do you map sun, soil, and foot paths?
Map sun, soil, and foot paths by watching the site at morning, midday, and late afternoon, then testing soil moisture and marking where people walk. Use those notes to place plants by need, not by looks. This gives each edible layer a better chance to grow well.
Watch the light for one full day
Take three photos of the zone on a clear day. Take one in the morning, one near midday, and one in late afternoon. Write down where full sun lasts for six hours or more. Fruit trees, tomatoes, peppers, beans, and most berry shrubs need the brightest areas. Leafy greens, parsley, mint, and some herbs can handle lighter shade.
Walls and fences change light more than people expect. A south-facing wall may hold heat and dry the soil faster. A fence can create a cool strip where plants get only a few hours of sun. In practice, this check takes about five minutes at each time of day, but it can save a whole season of poor growth.
Test the soil and mark safe paths
Check the soil with your hands before you dig. Good garden soil feels damp but not muddy, and it breaks apart with gentle pressure. If water sits on top after rain, improve drainage with compost and avoid placing root crops there. If the soil is dry and hard, add a 5 to 8 cm layer of compost, then cover it with mulch.
Keep main paths at least 60 cm wide. This width lets most people carry a watering can or harvest basket without stepping on beds. Use wood chips, flat stones, or compacted gravel for paths. Do not build paths where roots from a young fruit tree will need space in two or three years.
- Mark full-sun areas for fruiting crops and berry shrubs.
- Use part-shade areas for leafy greens and soft herbs.
- Place water-hungry plants close to a tap or rain barrel.
- Keep thorny shrubs away from narrow paths and play spaces.
If your home has several activity areas, start with a clear zone plan. Our guide to growing zone planning can help you keep food plants away from busy play and rest areas. A clear border also helps you avoid placing edible plants where pets often dig or where runoff may reach them.
Build the plant stack from the ground up
Build edible plant layers by placing the biggest long-term plants first, then filling open ground with smaller crops and covers. Begin with trees, shrubs, and climbers because they cast shade and use the most root space. Add short-lived plants only after these larger plants are set.
A useful stack has six possible layers. You do not need all six in a small zone. Choose only the layers that fit the space, climate, and time you can give. A sunny 3 m by 4 m area may work well with one dwarf tree, two shrubs, herbs, greens, and strawberries. A narrow side yard may be better with climbers, herbs, and low plants only.
Place the tree and shrub layers first
Plant a dwarf apple, pear, plum, peach, or other fruit tree only if it fits your local climate and mature width. Check the plant label for its final size, not its size in the nursery pot. A dwarf tree often still needs 2 to 3 m of open space. Put it on the side where its shade will not block the main sunny bed.
Set berry shrubs next. Currants, gooseberries, blueberries, raspberries, and blackberries all need different soil and support needs. Blueberries often need more acidic soil, while raspberries may spread quickly through root shoots. Keep spreading plants in a clear row or contained bed so they do not take over nearby herbs and greens.
Fill the lower layers with useful crops
Place herbs and leafy crops in bright gaps around shrubs. Chives, oregano, basil, parsley, lettuce, kale, and Swiss chard can give regular small harvests. Plant root crops such as carrots, beetroot, radishes, or garlic where the soil is loose and free of large roots. Keep them at least 45 cm away from young tree trunks.
- Plant trees and large shrubs at their full mature spacing.
- Add a trellis for beans, grapes, or hardy kiwi before planting.
- Place medium herbs and greens in sunny open spaces.
- Cover bare soil with strawberries, clover, or mulch.
- Label every plant and write its planting date.
When we tested this setup in a small home zone, the plants that failed were not the unusual ones. They were the plants put under too much shade or too close to thirsty shrubs. The lesson was simple: use open space slowly. It is easy to add a plant later, but hard to move a mature shrub without damage.
Which plants fit each edible layer?
The best plants for each edible layer match the light, root space, and water in your zone. Use dwarf fruit trees for the high layer, berries for the middle layer, herbs and greens below, then ground covers to protect bare soil. Choose fewer plant types at first.
Start with plants your household will actually eat. A productive growing zone should not become a display of plants that nobody harvests. If you use mint every week, grow it in a pot sunk into the ground so roots do not spread too far. If you enjoy berries, place them where children and adults can reach them without stepping into beds.
| Plant layer | Good choices | Spacing and care check |
|---|---|---|
| Tree layer | Dwarf apple, pear, plum | Allow 2 to 3 m, mulch around roots, prune yearly |
| Shrub layer | Currant, blueberry, raspberry | Allow 60 cm to 1.5 m, check soil needs |
| Herb layer | Chives, parsley, oregano, sage | Allow 25 to 40 cm, trim often for fresh growth |
| Ground cover | Strawberry, clover, creeping thyme | Allow 20 to 30 cm, keep away from young trunks |
| Climber layer | Beans, peas, grapes | Use a strong trellis, tie stems as they grow |
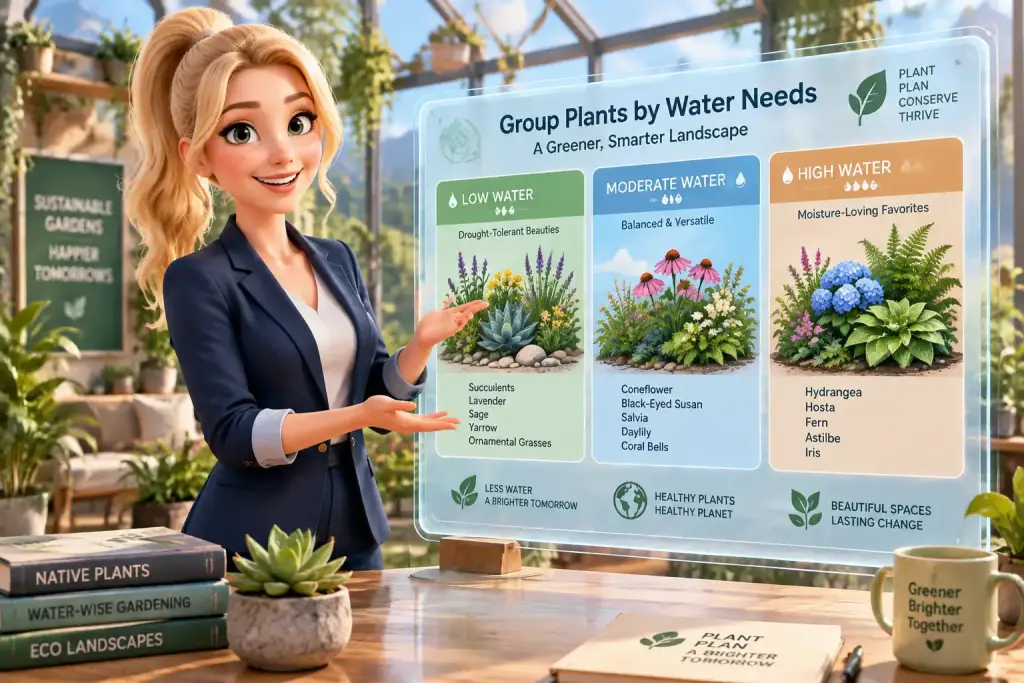
Choose local plant types when possible. Plants already suited to your rainfall and winter cold often need less water and less care after they settle in. You can also mix food plants with flowers that bring pollinators. Calendula, borage, nasturtium, and chive flowers can bring bees while also giving edible parts.
Use care with plant names and labels. Some plants look alike but have very different needs. Never eat a plant unless you know exactly what it is and know which part is safe to eat. Keep edible plants away from areas treated with unknown sprays, old paint waste, or runoff from driveways. For ideas that join food plants with local species, see this native layer plan.
Plant, mulch, and water without wasting space
Plant each layer with open soil around its roots, then mulch the surface and water slowly until the root zone is damp. Give new plants steady care for their first growing season, especially during dry weeks. Good planting habits matter more than adding many extra plants.
Dig planting holes about twice as wide as the root ball, but no deeper than the plant sat in its pot. The top of the root ball should sit level with the ground. A plant set too deep may grow poorly because the stem stays wet. Fill the hole with the original soil, then press gently to remove large air gaps.
Water after planting until the soil is damp 15 to 20 cm below the surface. A quick splash on the top is not enough. Slow watering gives roots time to take in moisture and grow downward. A drip hose or soaker hose can help in a larger zone, but a watering can works well for a small setup.
Spread 5 to 8 cm of mulch over bare soil. Shredded leaves, clean straw, wood chips, and compost can all help hold moisture and slow weeds. Keep mulch 10 cm away from tree trunks and shrub stems. Wet mulch against bark can lead to rot and can give slugs a hidden place to rest.
Use vertical space with care. Beans and peas can grow up a simple trellis, freeing ground space for lettuce or herbs. Put tall trellises on the north side of a sunny bed when possible, so they cast less shade over short plants. That said, check the direction of sun in your own zone because walls and trees can change the pattern.
Plant the tallest edible layer first, then place each lower layer where it will still receive the light and water it needs.
Fix crowding, poor growth, and pest problems early
Fix edible plant layer problems by checking light, soil moisture, spacing, and leaf damage before adding feeds or sprays. Most weak plants need a simple change, such as more room, deeper watering, or less shade. Act early while plants are still small and easy to move.
Crowding is the most common problem in mixed planting. A berry shrub may look small in spring but fill a wide space by summer. If stems touch and air cannot move between them, fungal problems can spread after rain. Prune dead or crossing stems, remove weak plants, and move annual herbs or greens to a brighter gap.
Yellow leaves can mean several things. Soil may be too wet, too dry, or low in nutrients. Check moisture 5 cm below the surface before watering again. If the soil is wet and leaves are yellow, improve drainage or reduce watering. If soil is dry and crumbly, water deeply and refresh the mulch.
Look under leaves twice a week during warm weather. Aphids, caterpillars, slugs, and beetles are easier to manage when you see them early. Hand-pick larger pests into a bucket of soapy water. Wash aphids off sturdy plants with a firm stream of water. Use barriers, such as copper tape or rough mulch, around young plants that slugs often eat.
Avoid reaching for strong chemicals in a food zone. They can harm helpful insects and may not solve the cause of the problem. Better spacing, clean paths, mulch, regular harvests, and removing badly damaged leaves often make a bigger difference. Keep notes on what you see, because the same problem may return at the same time next year.
Check your harvest zone through daily use
Check your edible plant layers through daily use by noticing what you pick, what you avoid, and where care takes too long. A good zone gives small, regular harvests and stays easy to reach from the path. Change the plan when real use shows a weak spot.
Walk through the zone two or three times each week. Bring a small basket and pick ripe berries, herbs, greens, and beans before they become overgrown. Regular picking often encourages more growth. It also helps you spot plants that are hidden behind larger leaves or blocked by a trellis.
Use a simple note on your phone or a paper chart. Write the date, rainfall, watering, first flowers, first harvest, pest signs, and plants that need pruning. After one season, these notes show which crops earned their space. You may find that parsley grew all summer while a large squash plant blocked paths and gave little food.
Ask three questions at the end of each month. Did every plant get enough light? Could you water and harvest without stepping on soil? Did the zone give food your household used? If the answer is no, remove one weak plant or move one annual crop. Small changes are easier than rebuilding the whole zone.
Keep the best parts and adjust the rest. Add compost each year, top up mulch, prune fruit trees at the right time for their type, and replace tired annual crops with fresh seed. A layered home growing zone should become easier to use over time. The real sign of success is simple: you walk outside, pick something useful, and return indoors without a long list of chores.

Matteo Mariani
Founder & Lead Landscape EditorBorn and based in Italy, Matteo Mariani is the founder and lead editor of Eco Zoned. He helps readers make thoughtful outdoor planning choices with practical advice on lower-impact gardens, functional spaces, and landscape zones for everyday homes.