







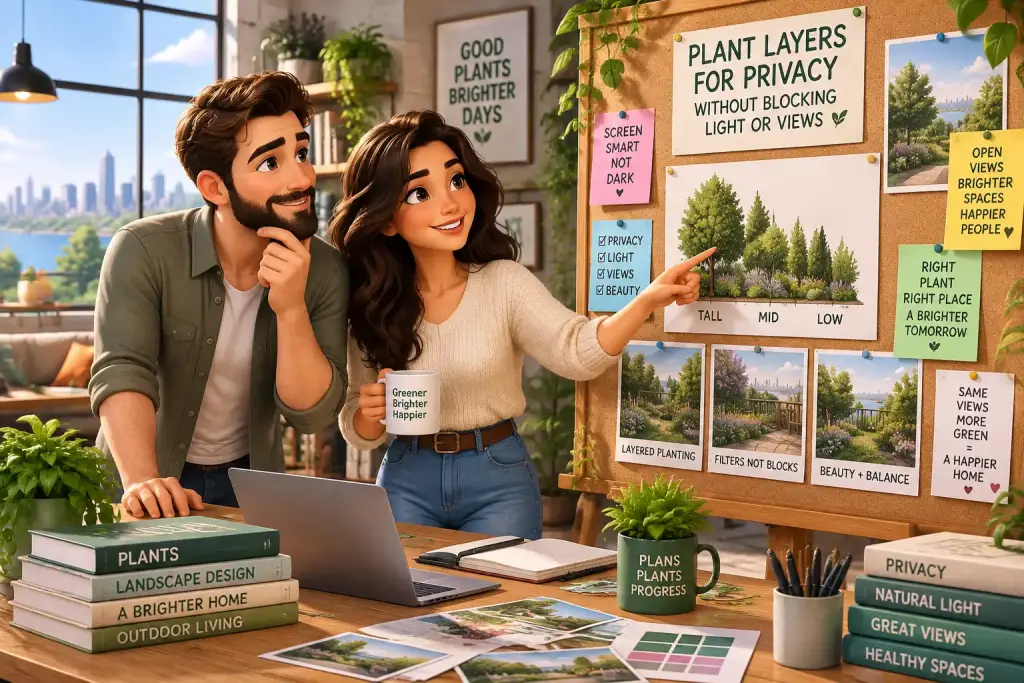
Plant layers give a yard more privacy without forcing you to live behind a tall green wall. The best plans use low plants, medium shrubs, and open-canopy trees in the right order, while protecting window light, path space, and the views worth keeping.
- Mark windows, sitting areas, sun paths, and wanted views before choosing plant heights.
- Keep low plants near paths and windows, then place medium shrubs behind them for a softer screen.
- Check the plan from indoors and outdoors in each season before filling empty spaces.
Table of Contents
Map plant layers before you buy plants
Plan plant layers on paper first, using windows, sitting spots, sun paths, and wanted views as fixed points. A simple map stops a privacy screen from becoming a dark wall that hides the parts of the yard you value.
Start with a basic sketch of the yard. It does not need to look perfect. Draw the house, fence, doors, windows, patio, paths, and any place where you sit often. Add arrows for the morning, midday, and late-day sun. Then mark the view you want to block, such as a close fence, parked cars, or a neighbor’s window.
Mark views you want to keep in a different color. This may be a mature tree, open sky, a flower bed, or the far end of the yard. Put a circle around the places where privacy matters most. A patio may need a screen at eye level, while a kitchen window may only need plants below the sill.
Measure from the places you use
Take measurements while standing in real use areas, not only along the property edge. Measure from a chair on the patio, the kitchen sink, and the main bedroom window. Note the height of your eyes when sitting and standing. Most seated eye lines are about 3 to 4 feet from the ground, while standing eye lines are often about 5 to 6 feet high.
Use a tape measure and a few bamboo stakes to make the plan feel real. Place the stakes where future shrubs may sit. Tie string between them at 4 feet, 5 feet, or 6 feet high. This quick test shows if the screen will block a view, cover a window, or cut off needed light before you dig a single hole.
How do you map light and views before planting?
Check light and sight lines at least three times in one clear day, morning, midday, and late afternoon. Take notes from indoors and outdoors so your privacy planting does not shade rooms or cover the views you use daily.
Sun changes as it moves, and it also changes through the year. A bed that looks bright in June may be much darker when the sun sits lower in winter. Watch where shade falls from the house, fence, and existing trees. Take phone photos from the same spots at each check, then label the time on every photo.
Here is the catch: a plant can block a bad view from the patio but still block a good view from an upstairs room. Stand at every window that faces the planting area. Look through the glass at seated height and standing height. A medium shrub may work below a low window, while a taller plant belongs farther away from it.
Set clear view zones
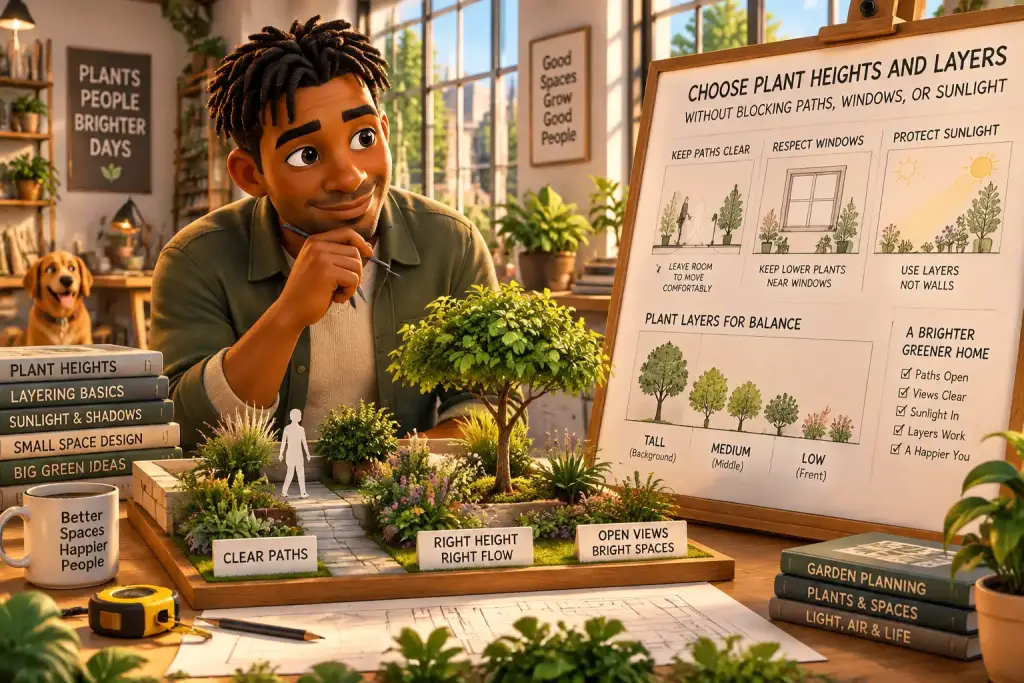
Divide the bed into simple zones before choosing plants. Keep the nearest zone low, place the main privacy screen in the middle, and use taller plants only where they will not close the space. This gives the eye gaps to look through instead of one hard green line.
- Low zone: Keep plants about 1 to 2 feet tall near paths, windows, and patio edges.
- Middle zone: Use shrubs around 3 to 6 feet tall for most seated privacy needs.
- Back zone: Place small trees or tall shrubs behind the screen, with open gaps between trunks.
- View gap: Leave a planned open space where you want to see sky, trees, or a far view.
For a tight yard, use your property line with care. Leave room for mature width, air flow, and access for pruning. Our small yard zoning plan shows how to set these working areas without losing useful open ground.
Build privacy layers from low plants to open canopies
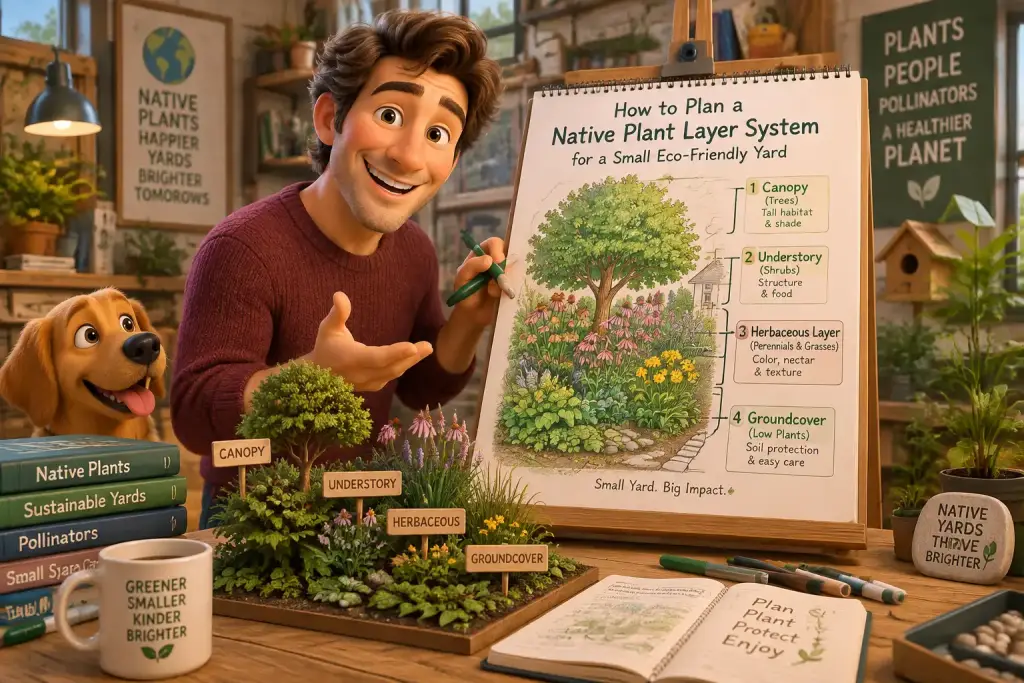
Build plant layers from the front of the bed to the back, starting low and rising slowly. This order keeps paths clear, lets light pass across the bed, and makes the privacy screen look softer from both sides.
Groundcover and low clumps belong at the front edge. They cover bare soil, help hold moisture, and make the taller shrubs look less heavy. Put medium shrubs behind them, but do not plant every shrub in a straight row. Offset groups by 2 to 4 feet where space allows, so the screen has depth and small openings.
Place taller shrubs or small trees at the back only where a higher screen is truly needed. Choose plants with a raised canopy or branches that can be pruned up over time. This lets you see under some branches while leaves still soften the view above. For most people, two or three well-placed tall plants work better than a full row.
Use mature size, not nursery size
Read the plant tag for mature height and mature width. A shrub sold in a small pot may spread 5 feet wide after several growing seasons. Space plants based on their full width, not their current size. Crowded plants soon compete for water, block air, and need hard pruning that can leave empty brown areas.
| Planning check | Simple tool | Useful rule |
|---|---|---|
| Window light | Phone camera and notes | Check the same window in morning, midday, and late afternoon. |
| Patio privacy | Stakes and string | Set string at 4 to 6 feet to test seated and standing views. |
| Path clearance | Tape measure | Keep mature plant edges at least 18 inches from a narrow path. |
| Shrub spacing | Plant tag | Use the listed mature width before setting plant centers. |
| Tree canopy | Step back photo | Keep open gaps where you want sky and long views. |
Use a mulch layer after planting, but keep it a few inches away from stems. Mulch lowers weed growth and helps soil stay damp. It also makes it easier to see the shape of each plant layer while the bed is still young.
Which plants give privacy without a solid green wall?
Use mixed shrubs, low groundcover, and a few open-canopy trees instead of one tall hedge. Mixed plant layers give privacy at eye level while leaving gaps for light, air, birds, and long views.
Choose plants that fit your local weather, soil, and sun level first. Native plants can often need less extra water once their roots settle in, but local fit matters more than any single plant name. Ask a local garden center or native plant group which shrubs stay healthy at the height you need. Pick several kinds with different leaf shapes and flowering times.
Evergreen shrubs can screen a fence all year, but they are easy to overuse. Set them in small groups instead of planting a full solid line. Mix in leaf-dropping shrubs that let more winter light through. This can be helpful near south-facing windows where you want warmth and brightness during colder months.
Match plants to the job
Use dense shrubs where a close view needs blocking. Use loose shrubs where you only need a soft filter. Ornamental grasses can hide a low fence line during the growing season, but they may not screen well in winter. Small trees with higher branches work best at the back of the bed, where their canopy frames a view instead of closing it.
Do not copy a plant list from a different climate. Check the plant’s final height, width, water needs, and root spread before buying. A plant that grows fast can create privacy quickly, but it may also need cutting two or three times a year. For lower work over time, use the approach in our guide to native plant paths and choose plants that naturally fit their space.
When we tested this setup in a narrow side yard, three medium shrubs with low plants in front looked fuller than six shrubs set in one line. The open spaces also kept the nearby room noticeably brighter. Density came from layers, not from cramming plants together.
Run string between short stakes at your planned shrub height. Stand where you sit indoors and outside to see exactly what the future screen will hide.
Check the screen through seasons and daily use
Test your privacy screen after planting by checking it from key windows, paths, and seats every few weeks. Small changes made early are easier than moving crowded shrubs after several years of growth.
Walk the yard at the times you normally use it. Sit down with a drink on the patio. Stand at the kitchen counter. Open the gate and carry a bag along the path. These ordinary checks show problems that a paper plan can miss, such as branches brushing shoulders, plants hiding a step, or a shrub blocking a favorite view.
In everyday use, this step takes about five minutes. Take one photo from each key place every month during the first growing season. Keep the photos in one phone folder. You will quickly see which plants are filling in well and which gaps still need a low plant, mulch, or a small adjustment.
Fix small problems before they grow
Prune only what blocks light, paths, or the planned view. Do not cut every plant into the same shape. Keep lower plants low, thin crowded stems in medium shrubs, and raise tree branches slowly over more than one season. Remove no more than about one-third of a plant’s live growth at one time.
Watch for common slip-ups. A tall shrub planted too close to a window may need moving while it is still small. A screen with no gaps may make a yard feel closed and trap damp air. A bed with bare soil can look thin at first, but low groundcover and mulch are better fixes than adding too many large shrubs.
Once you set this up, review the plan each spring and late summer. Check mature size notes before adding anything new. Good privacy planting is not about hiding every edge of the yard. It is about placing green cover exactly where it helps, while leaving your home bright and your best views open.

Matteo Mariani
Founder & Lead Landscape EditorBorn and based in Italy, Matteo Mariani is the founder and lead editor of Eco Zoned. He helps readers make thoughtful outdoor planning choices with practical advice on lower-impact gardens, functional spaces, and landscape zones for everyday homes.